I was making soup the other day.
I make this super simple vegetable soup every week. I tweak this and tweak that, but in all the times I’ve made it, I do something JUST A TOUCH different. One day when I was making it, you know what I did? I added a bay leaf. THREE bay leaves to be exact. Out of ALL the spices in my drawer, I chose the bay leaf.
Well, NEVER underestimate the power of a bay leaf.
This $1 purchase from the grocery store (I quite literally buy the cheapest ones) made a WORLD of difference in the flavor. Did I mention I don’t cook with salt?
It’s truly the simplest soup in the world–and now that I’ve found my (not so) secret ingredient, I’ve made it for friends who’ve just had babies, my kids eat it, and even my littlest got a bowl and a spoon, brought it to me, and said, “Soup now please, Mommy.”
That bay leaf made ALL the difference. Yep–now it’s a hit.
Which made me think:
It’s ~kinda~ like adding art to our homes
In light of ~gestures broadly~ ALL the things in the world that you can pick from to add to your home…
… if they were in a generational line-up, original artwork would FOR SURE be an older, wiser adult in the room.
So, you should have fine art. Fine art is expensive. I’d argue that the frame is important, but the art is MORE important. So if you’re choosing where to spend your $$$, go with the ART first.
Let’s get that artwork up on the WALL!
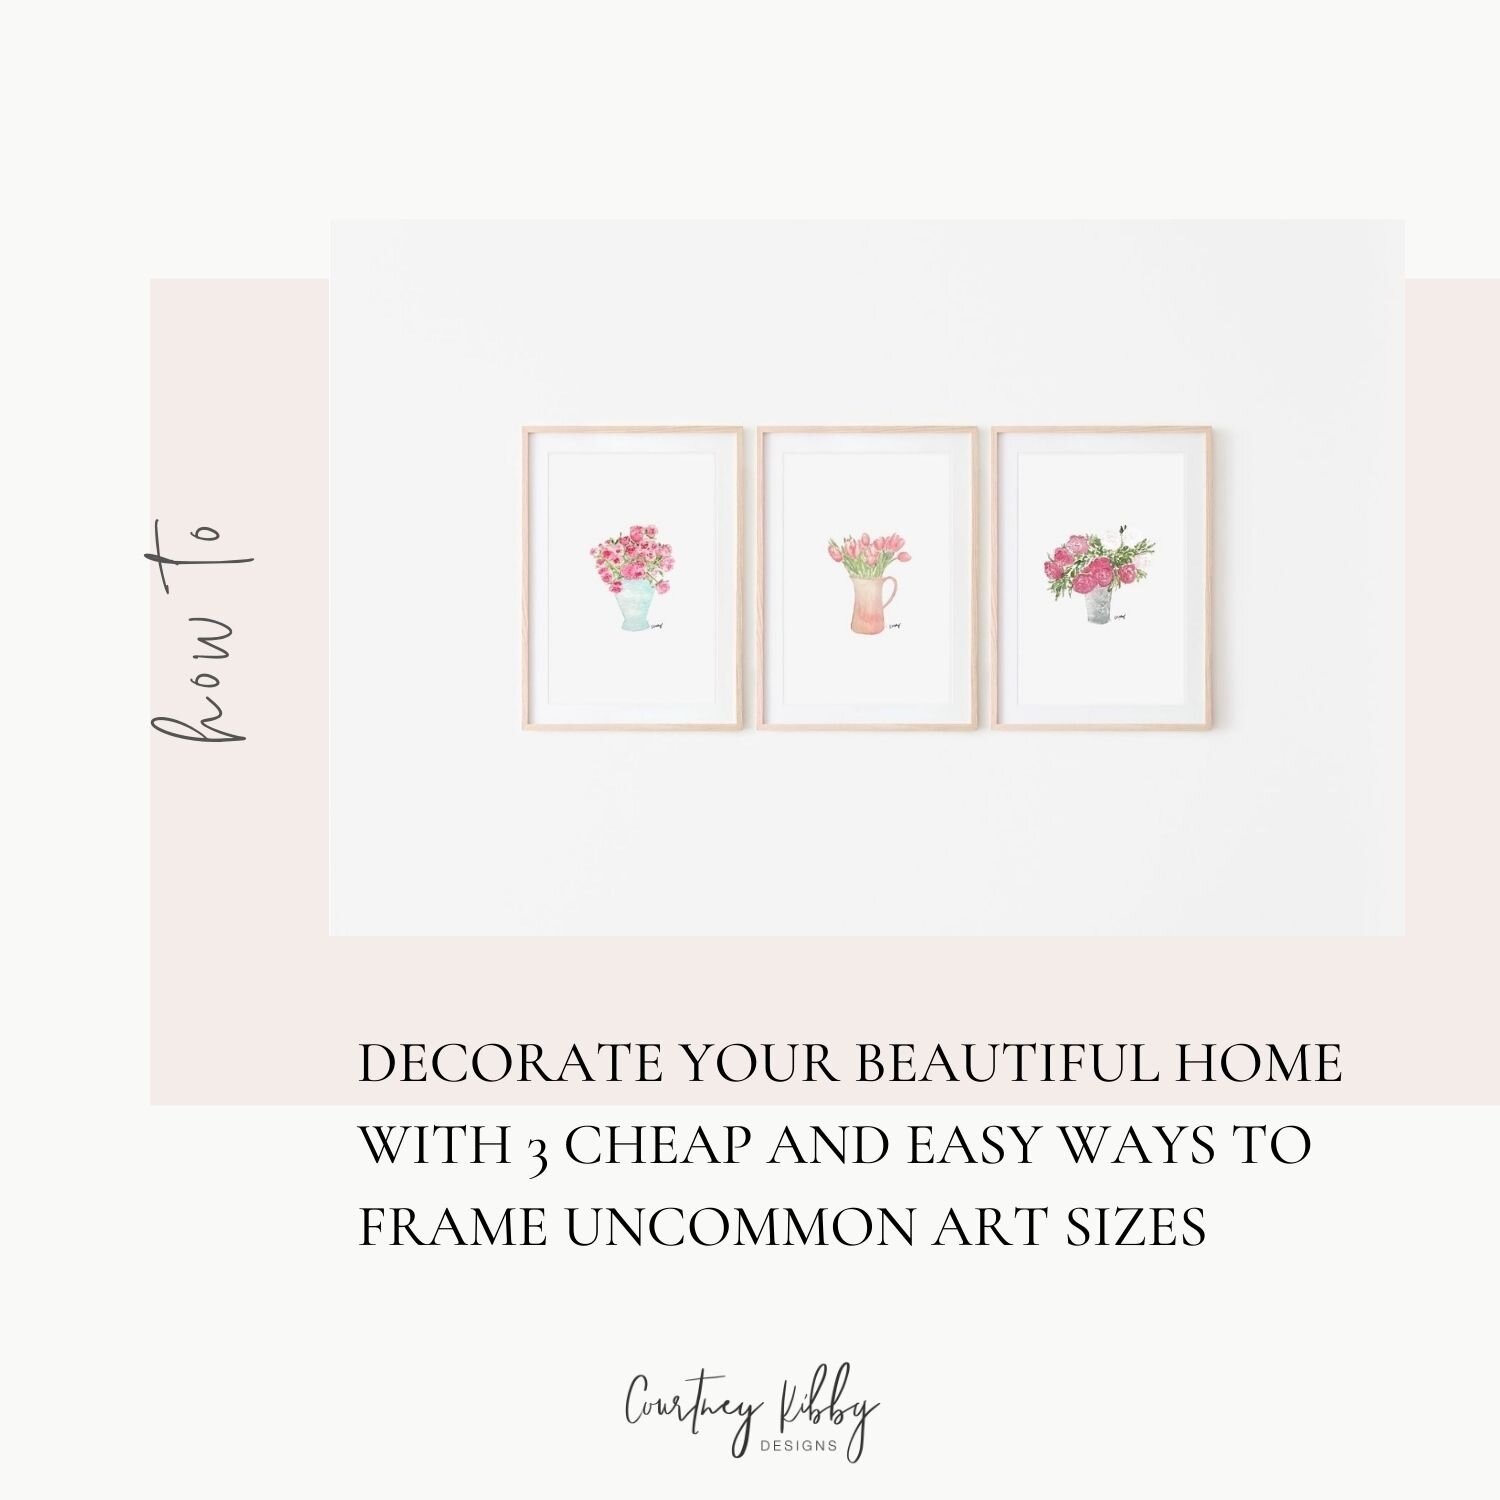
In this week’s blog post, I’m talking about 3 ways to frame uncommon artwork sizes (because let’s be real, a lot of artists ~including myself~ make beautiful art that can be a teensy bit oddly sized).
Although some of these tricks are little framing tricks I started years ago, you can start using these anytime.
If you’ve ever been stuck how to frame artwork that’s not a common size (i.e. 4×6, 5×7, etc.) without spending an arm and a leg…
… I think you’ll like this part 1 of a 3 part series I’m doing on styling art for your home..
Let’s dive in.
MAT
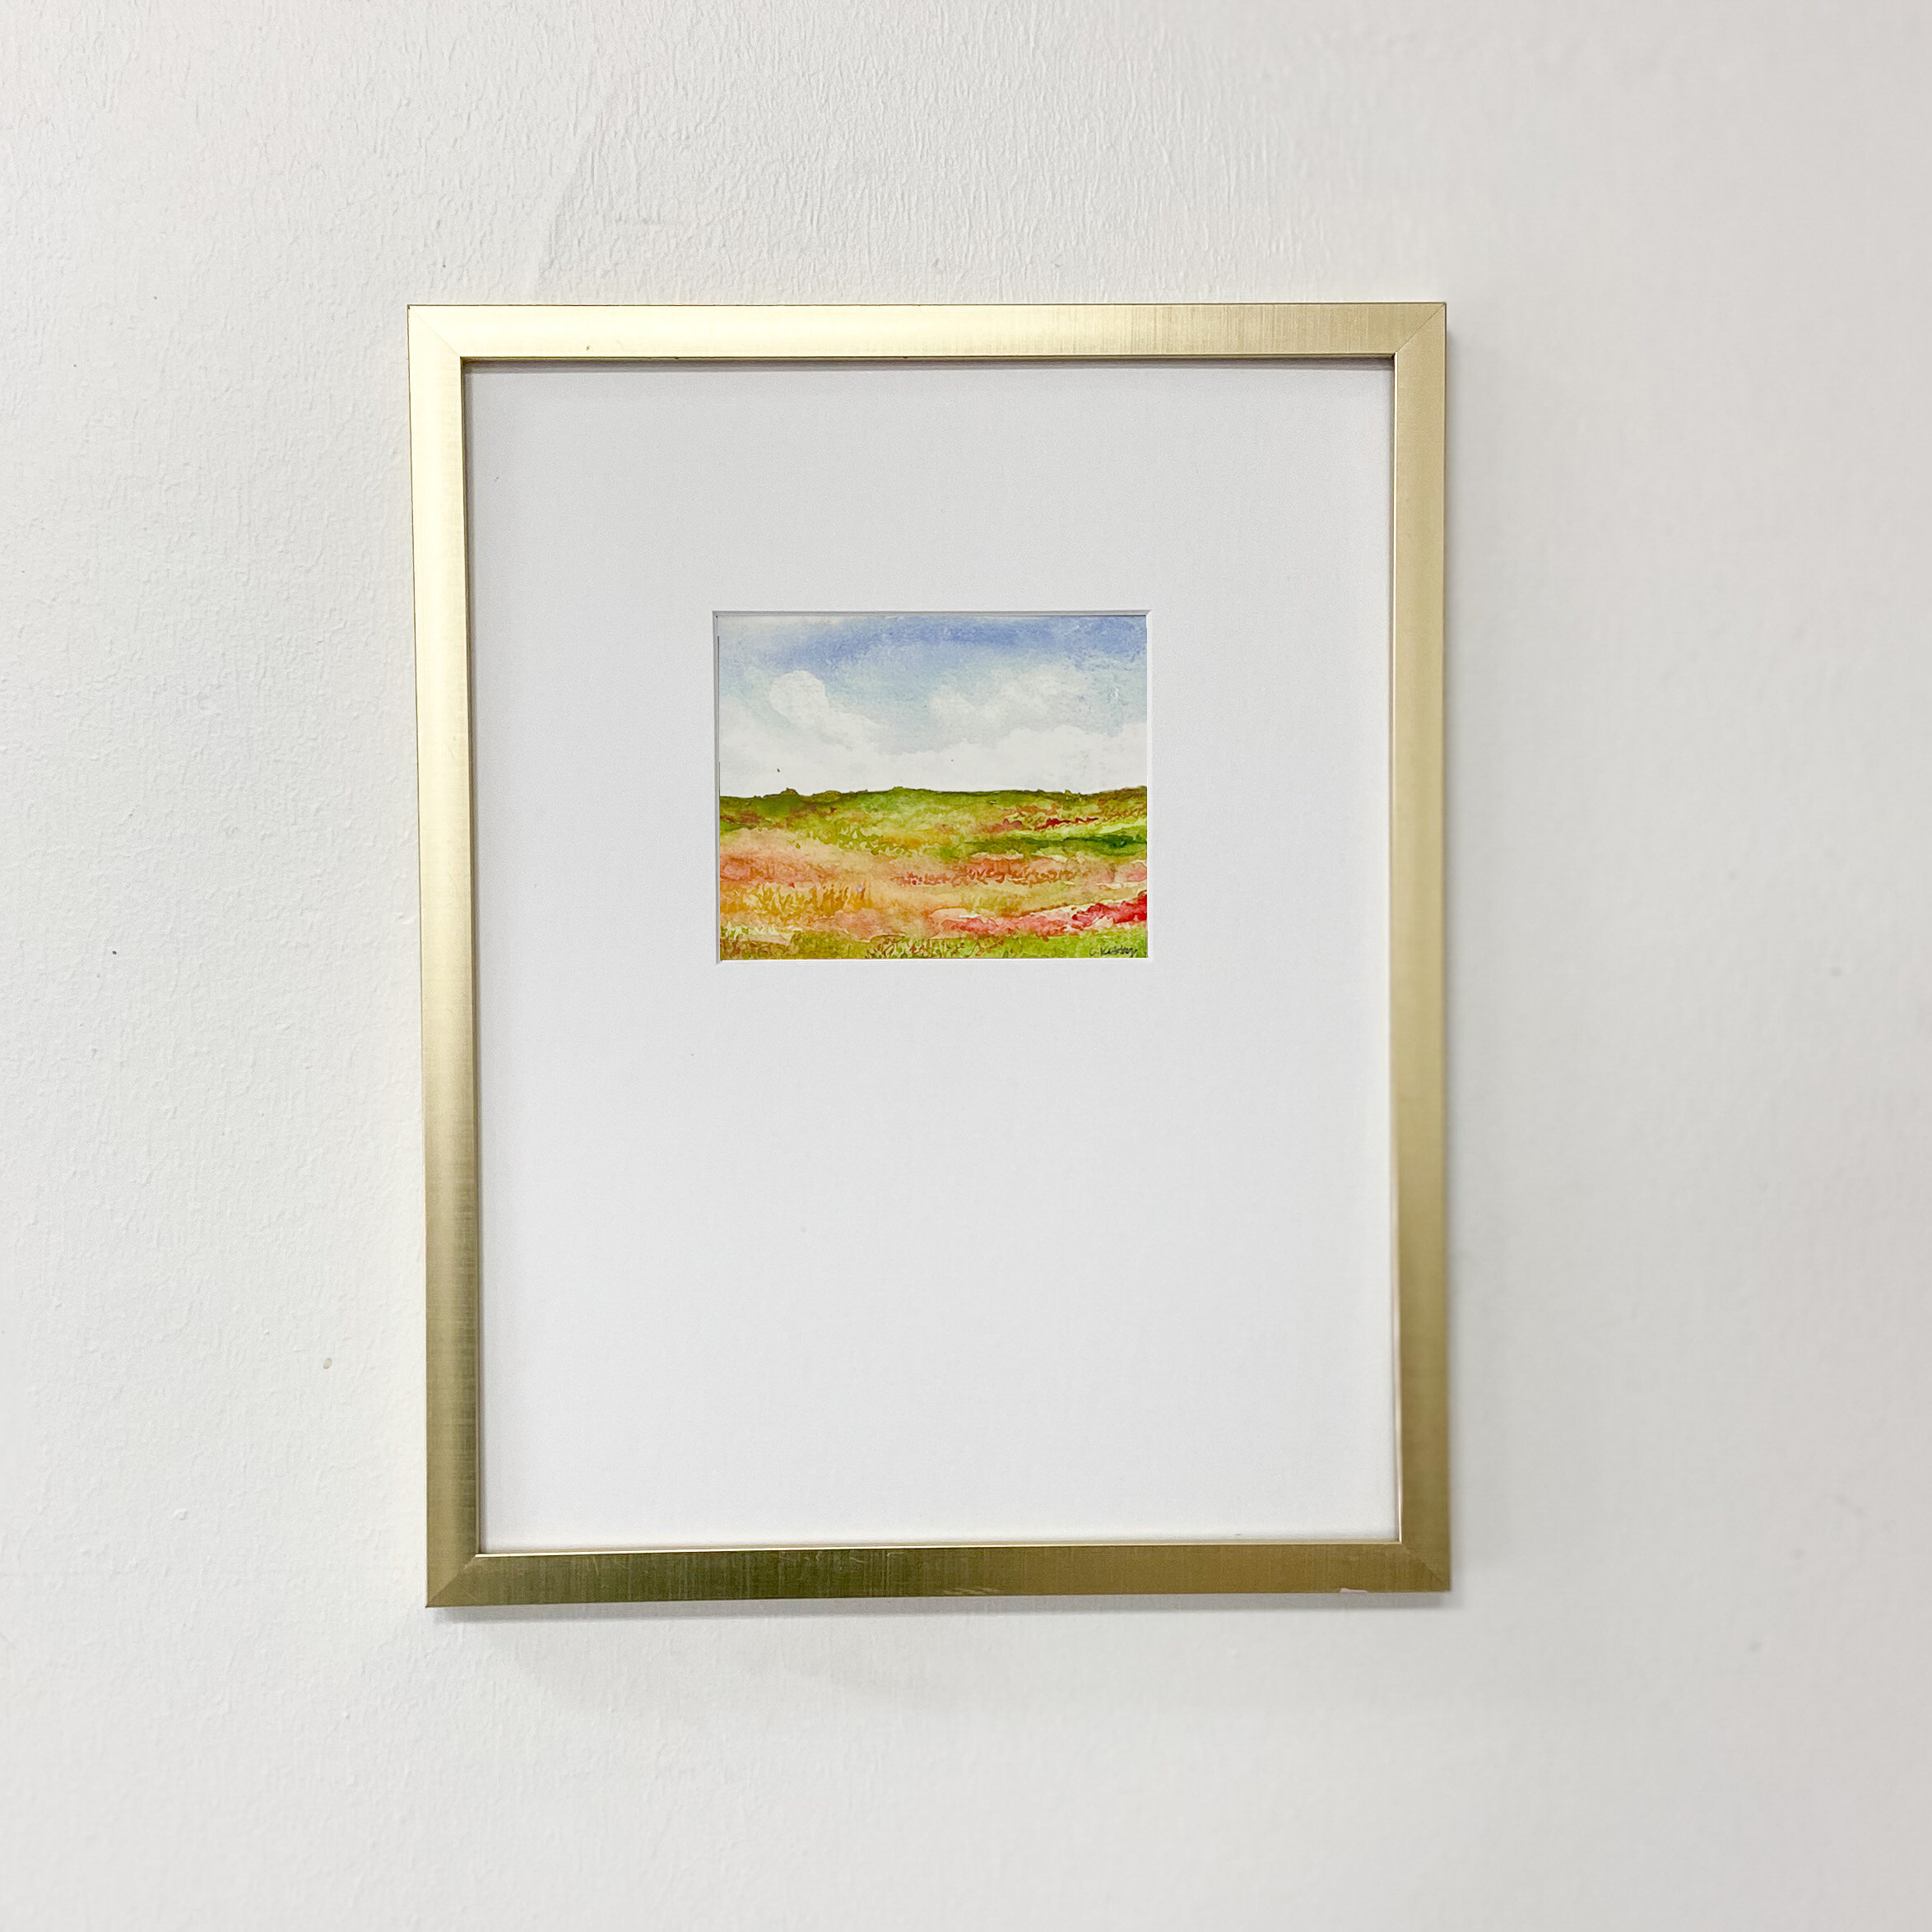
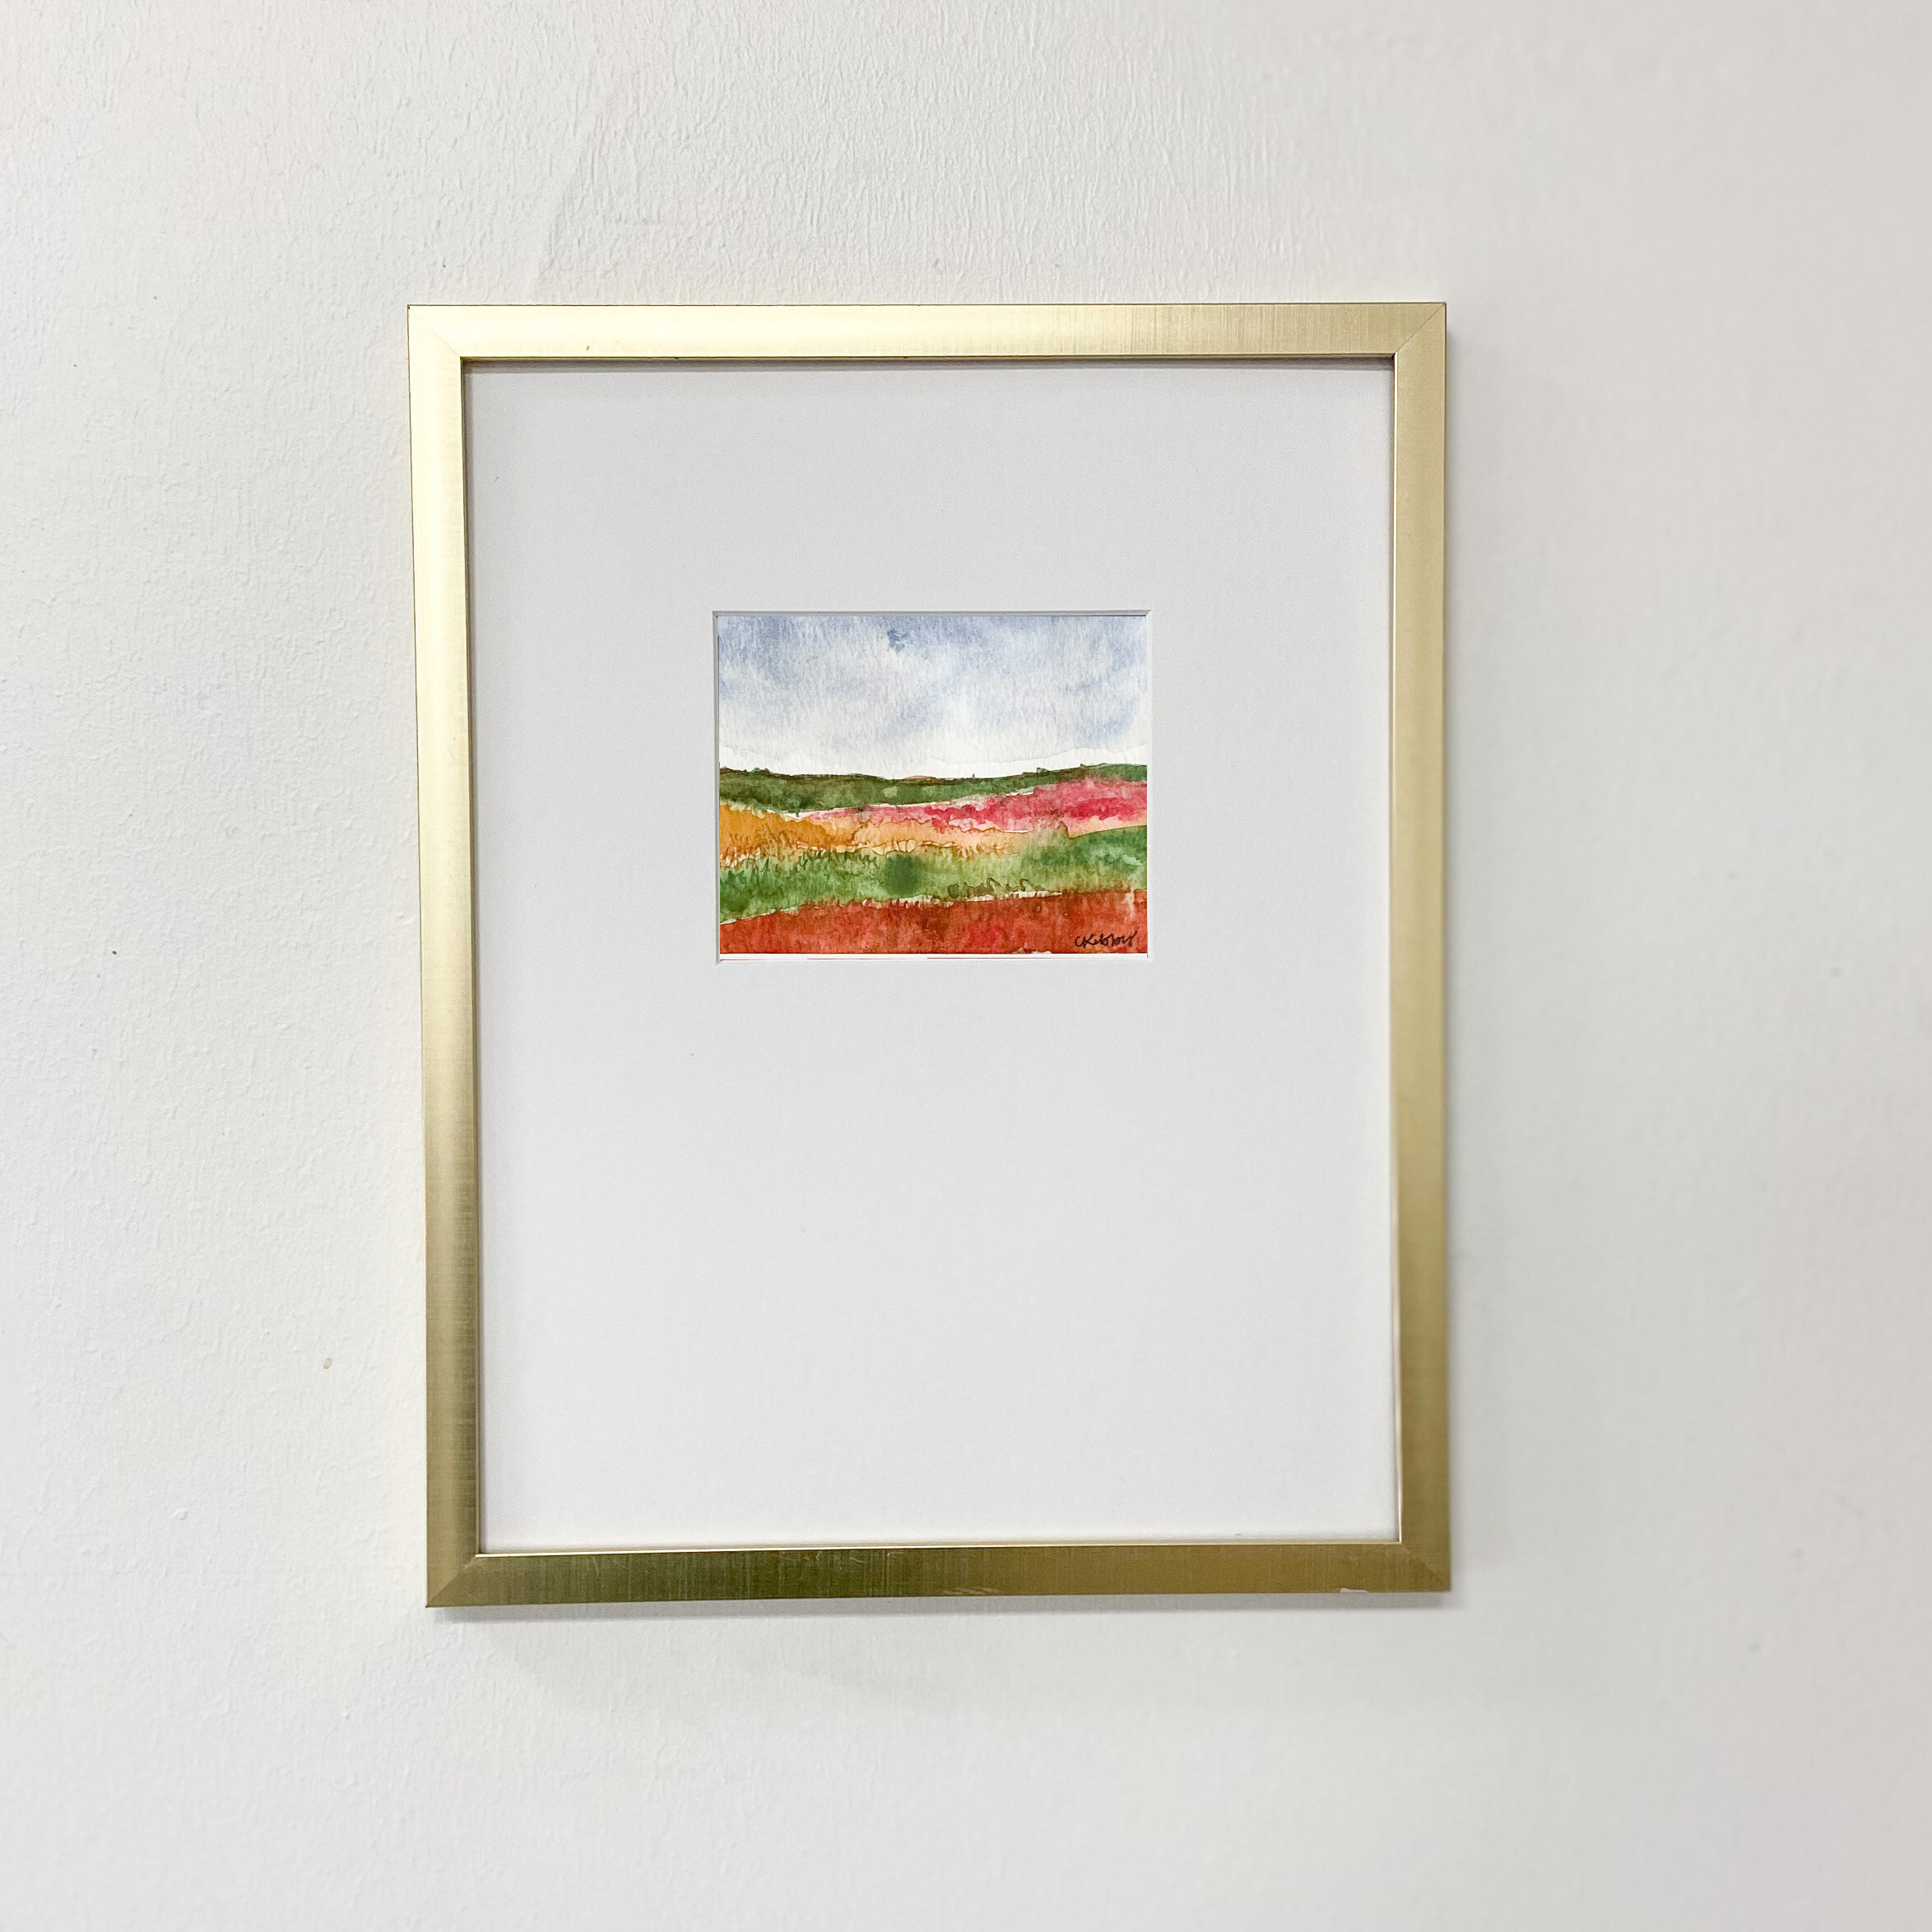
My first and FAVORITE option is a beautiful mat. I get them from Matboard and More (not an affiliate), and the quality is excellent. They’re also pretty reasonably priced.
Anyway, measure your painting. You typically want your mat to be ¼ to ½ inch smaller, depending on how it’s made.
Supplies
-painting
-measuring tape or ruler
-normal sized frame
#block-yui_3_17_2_1_1617885881188_9183 .sqs-gallery-block-grid .sqs-gallery-design-grid { margin-right: -13px; }
#block-yui_3_17_2_1_1617885881188_9183 .sqs-gallery-block-grid .sqs-gallery-design-grid-slide .margin-wrapper { margin-right: 13px; margin-bottom: 13px; }
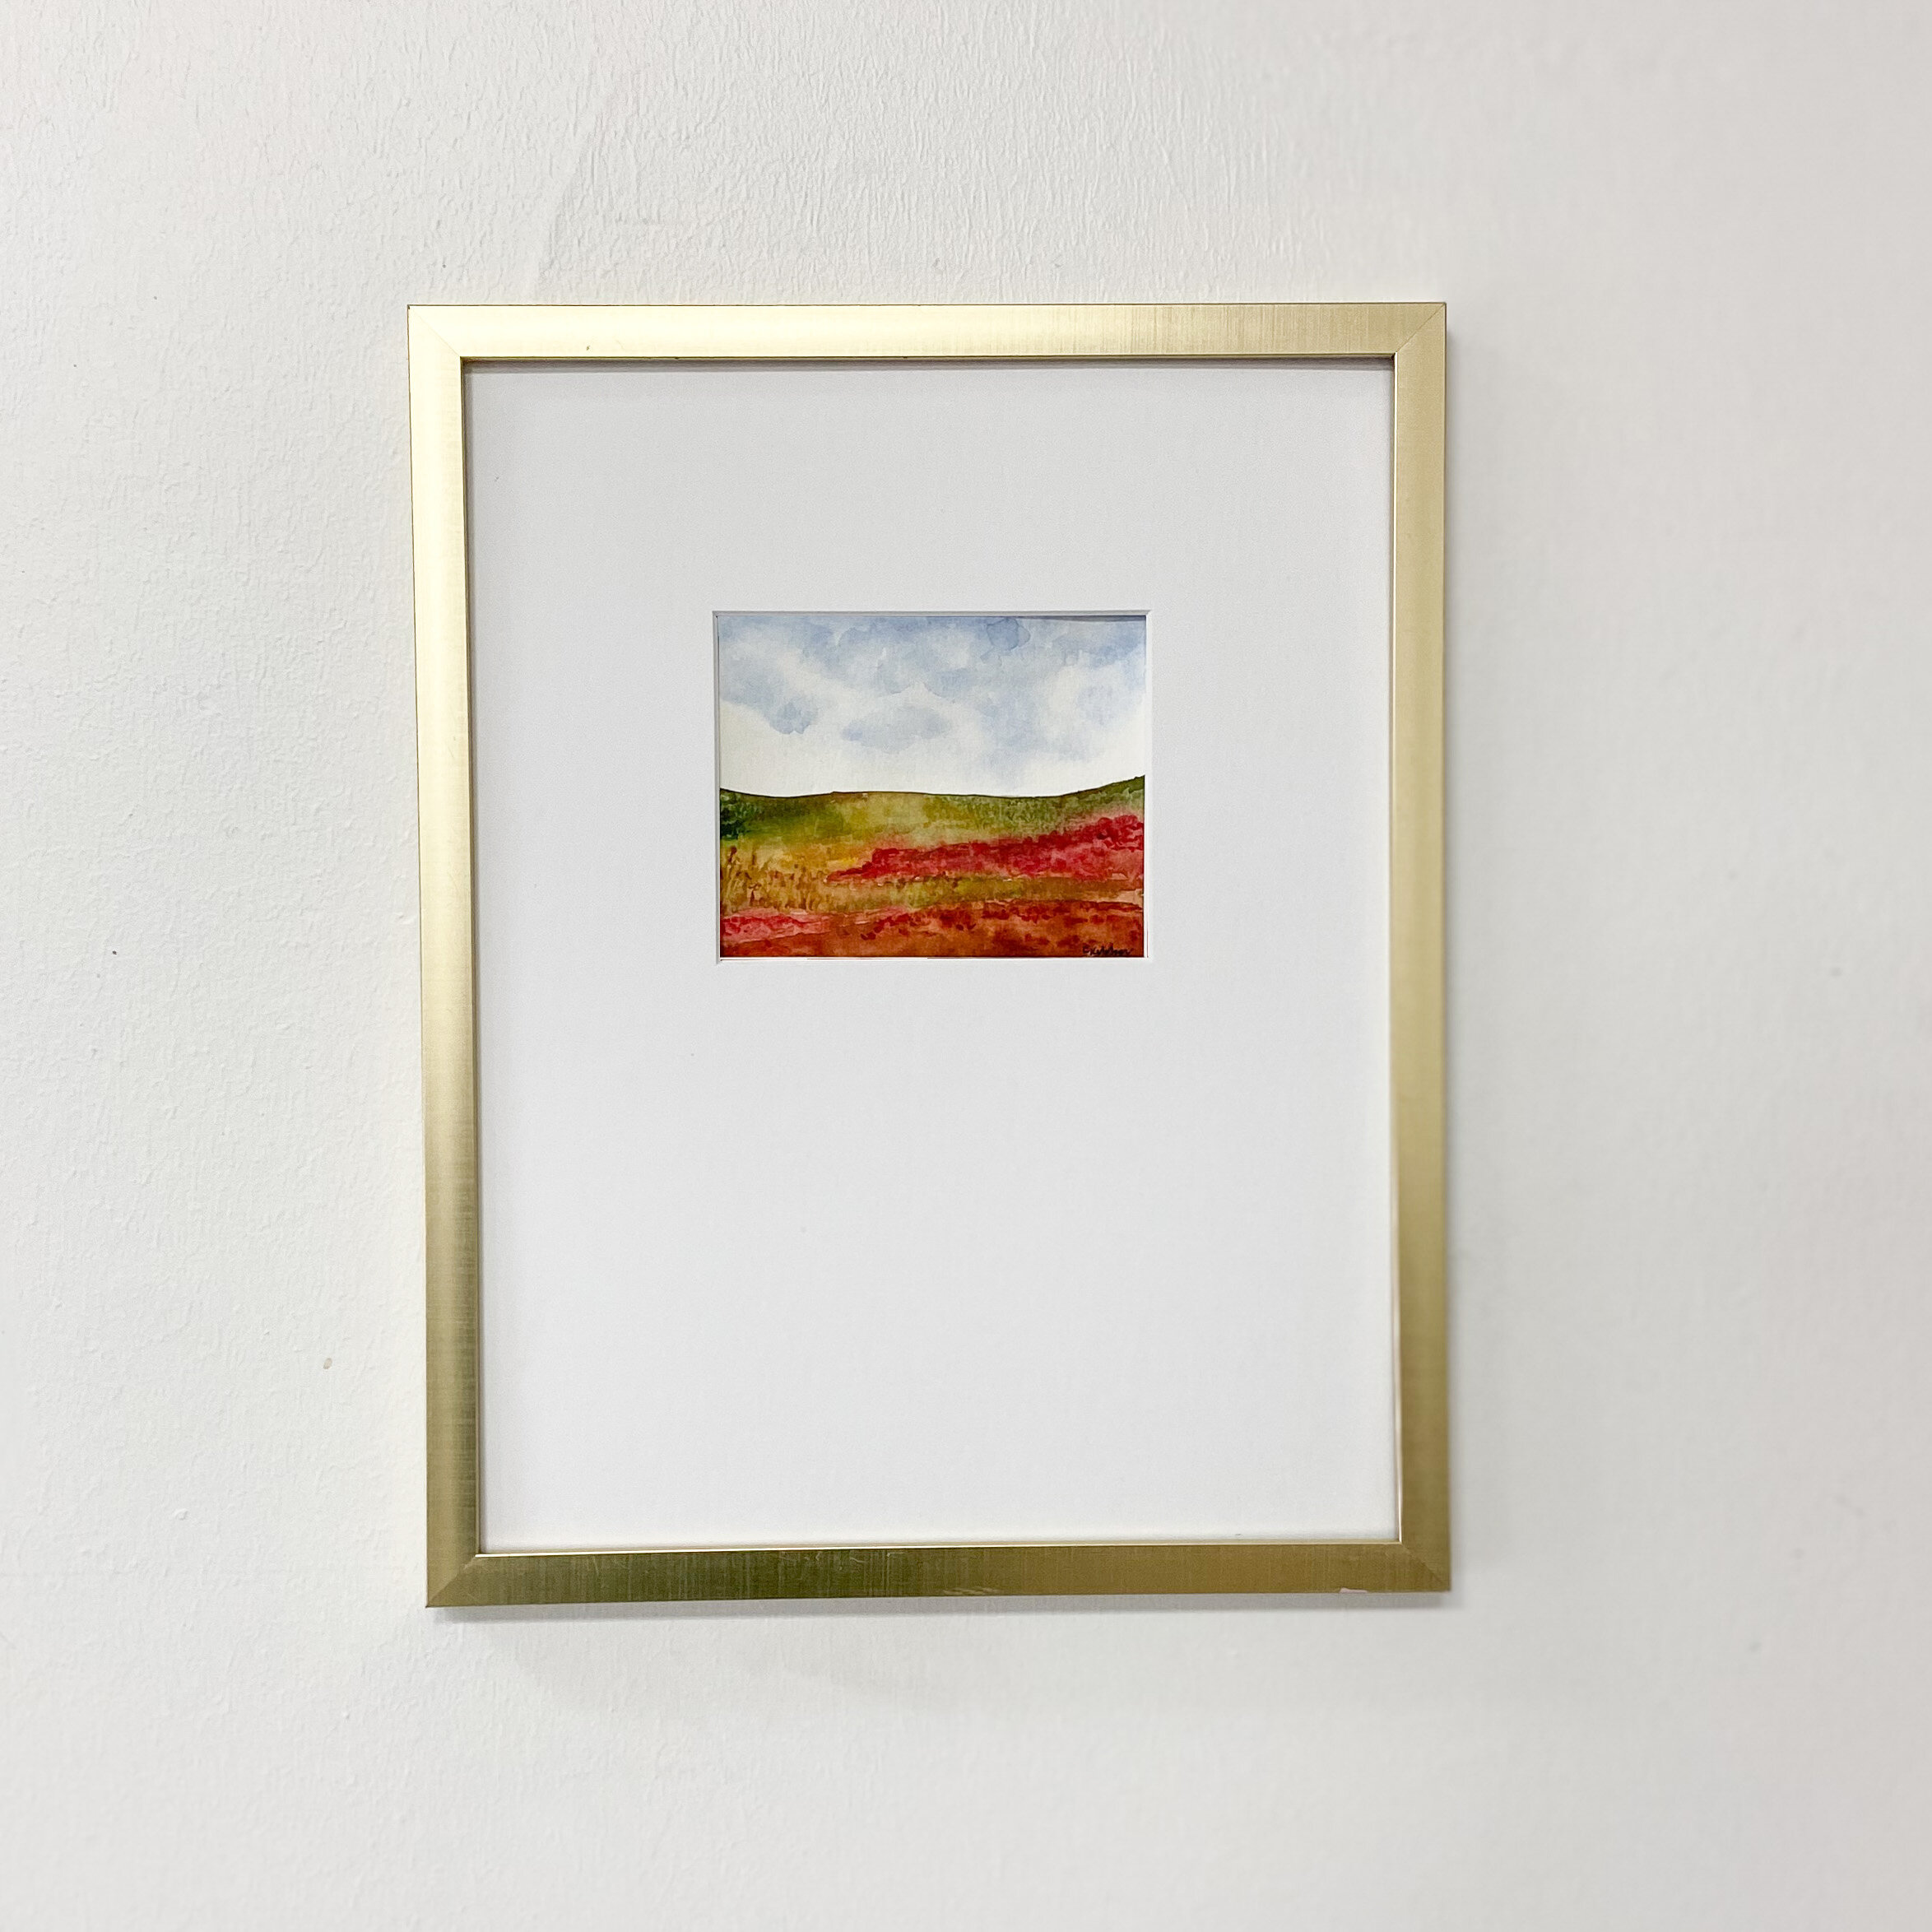
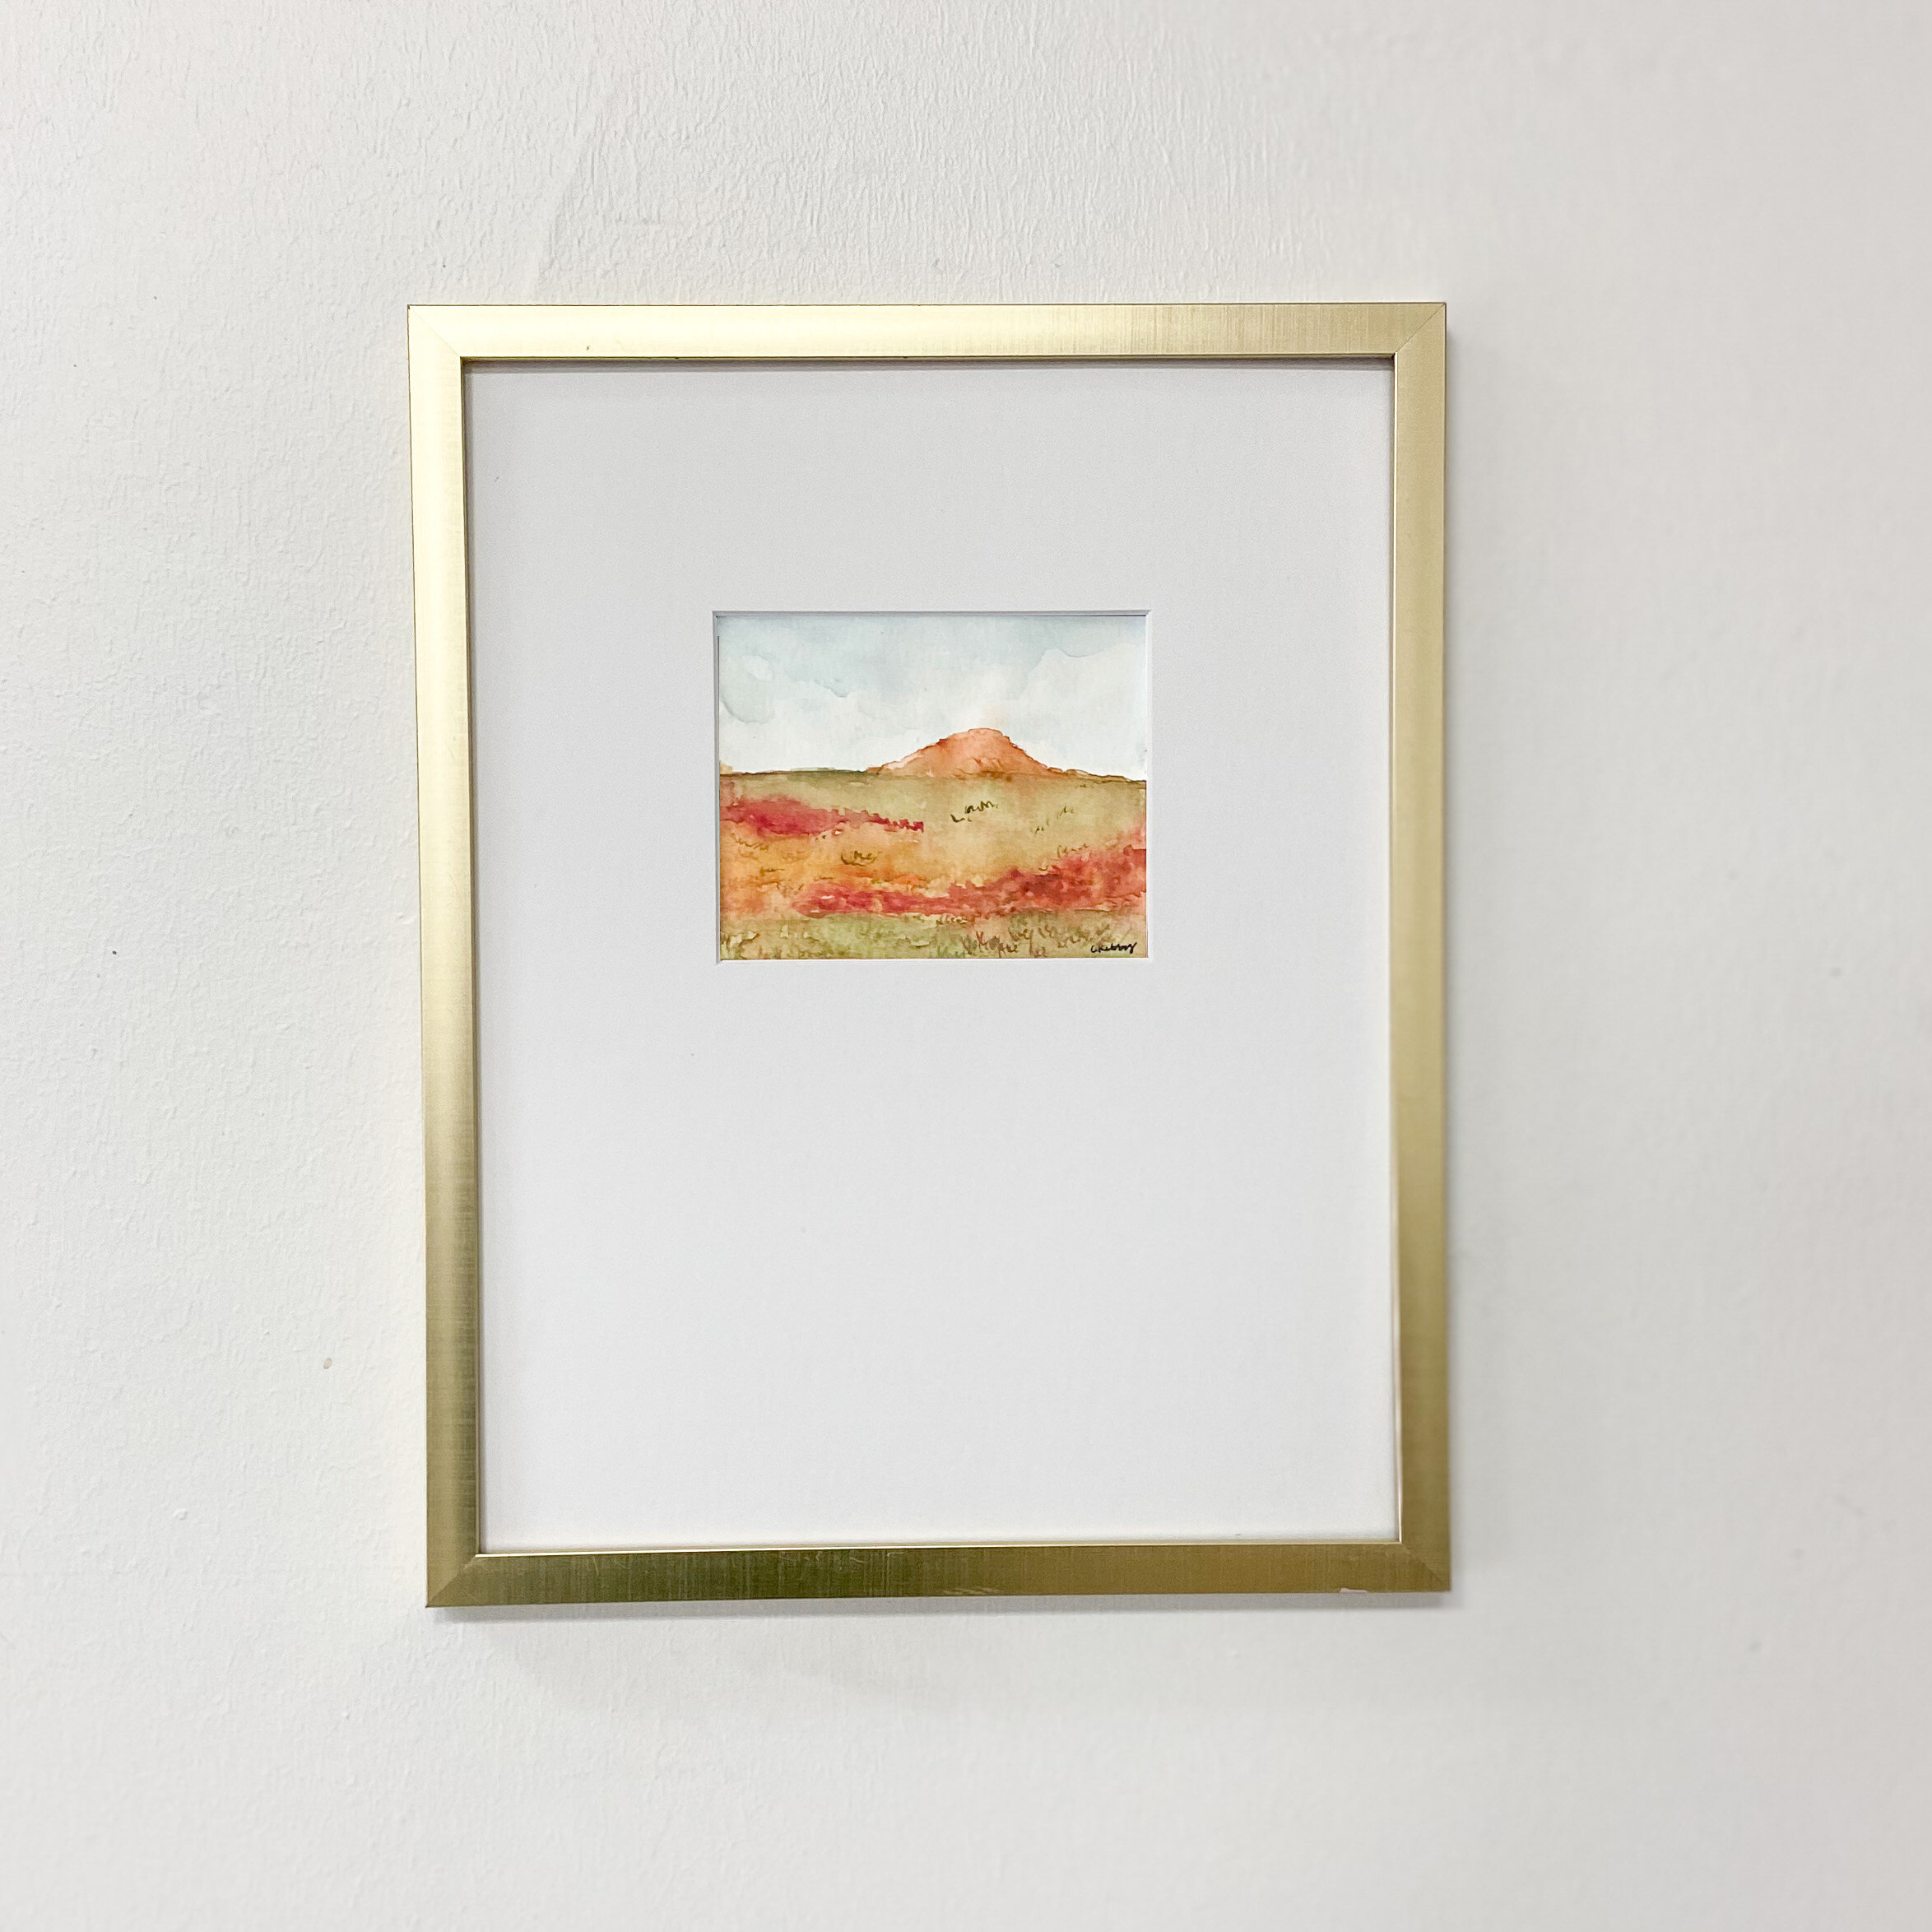
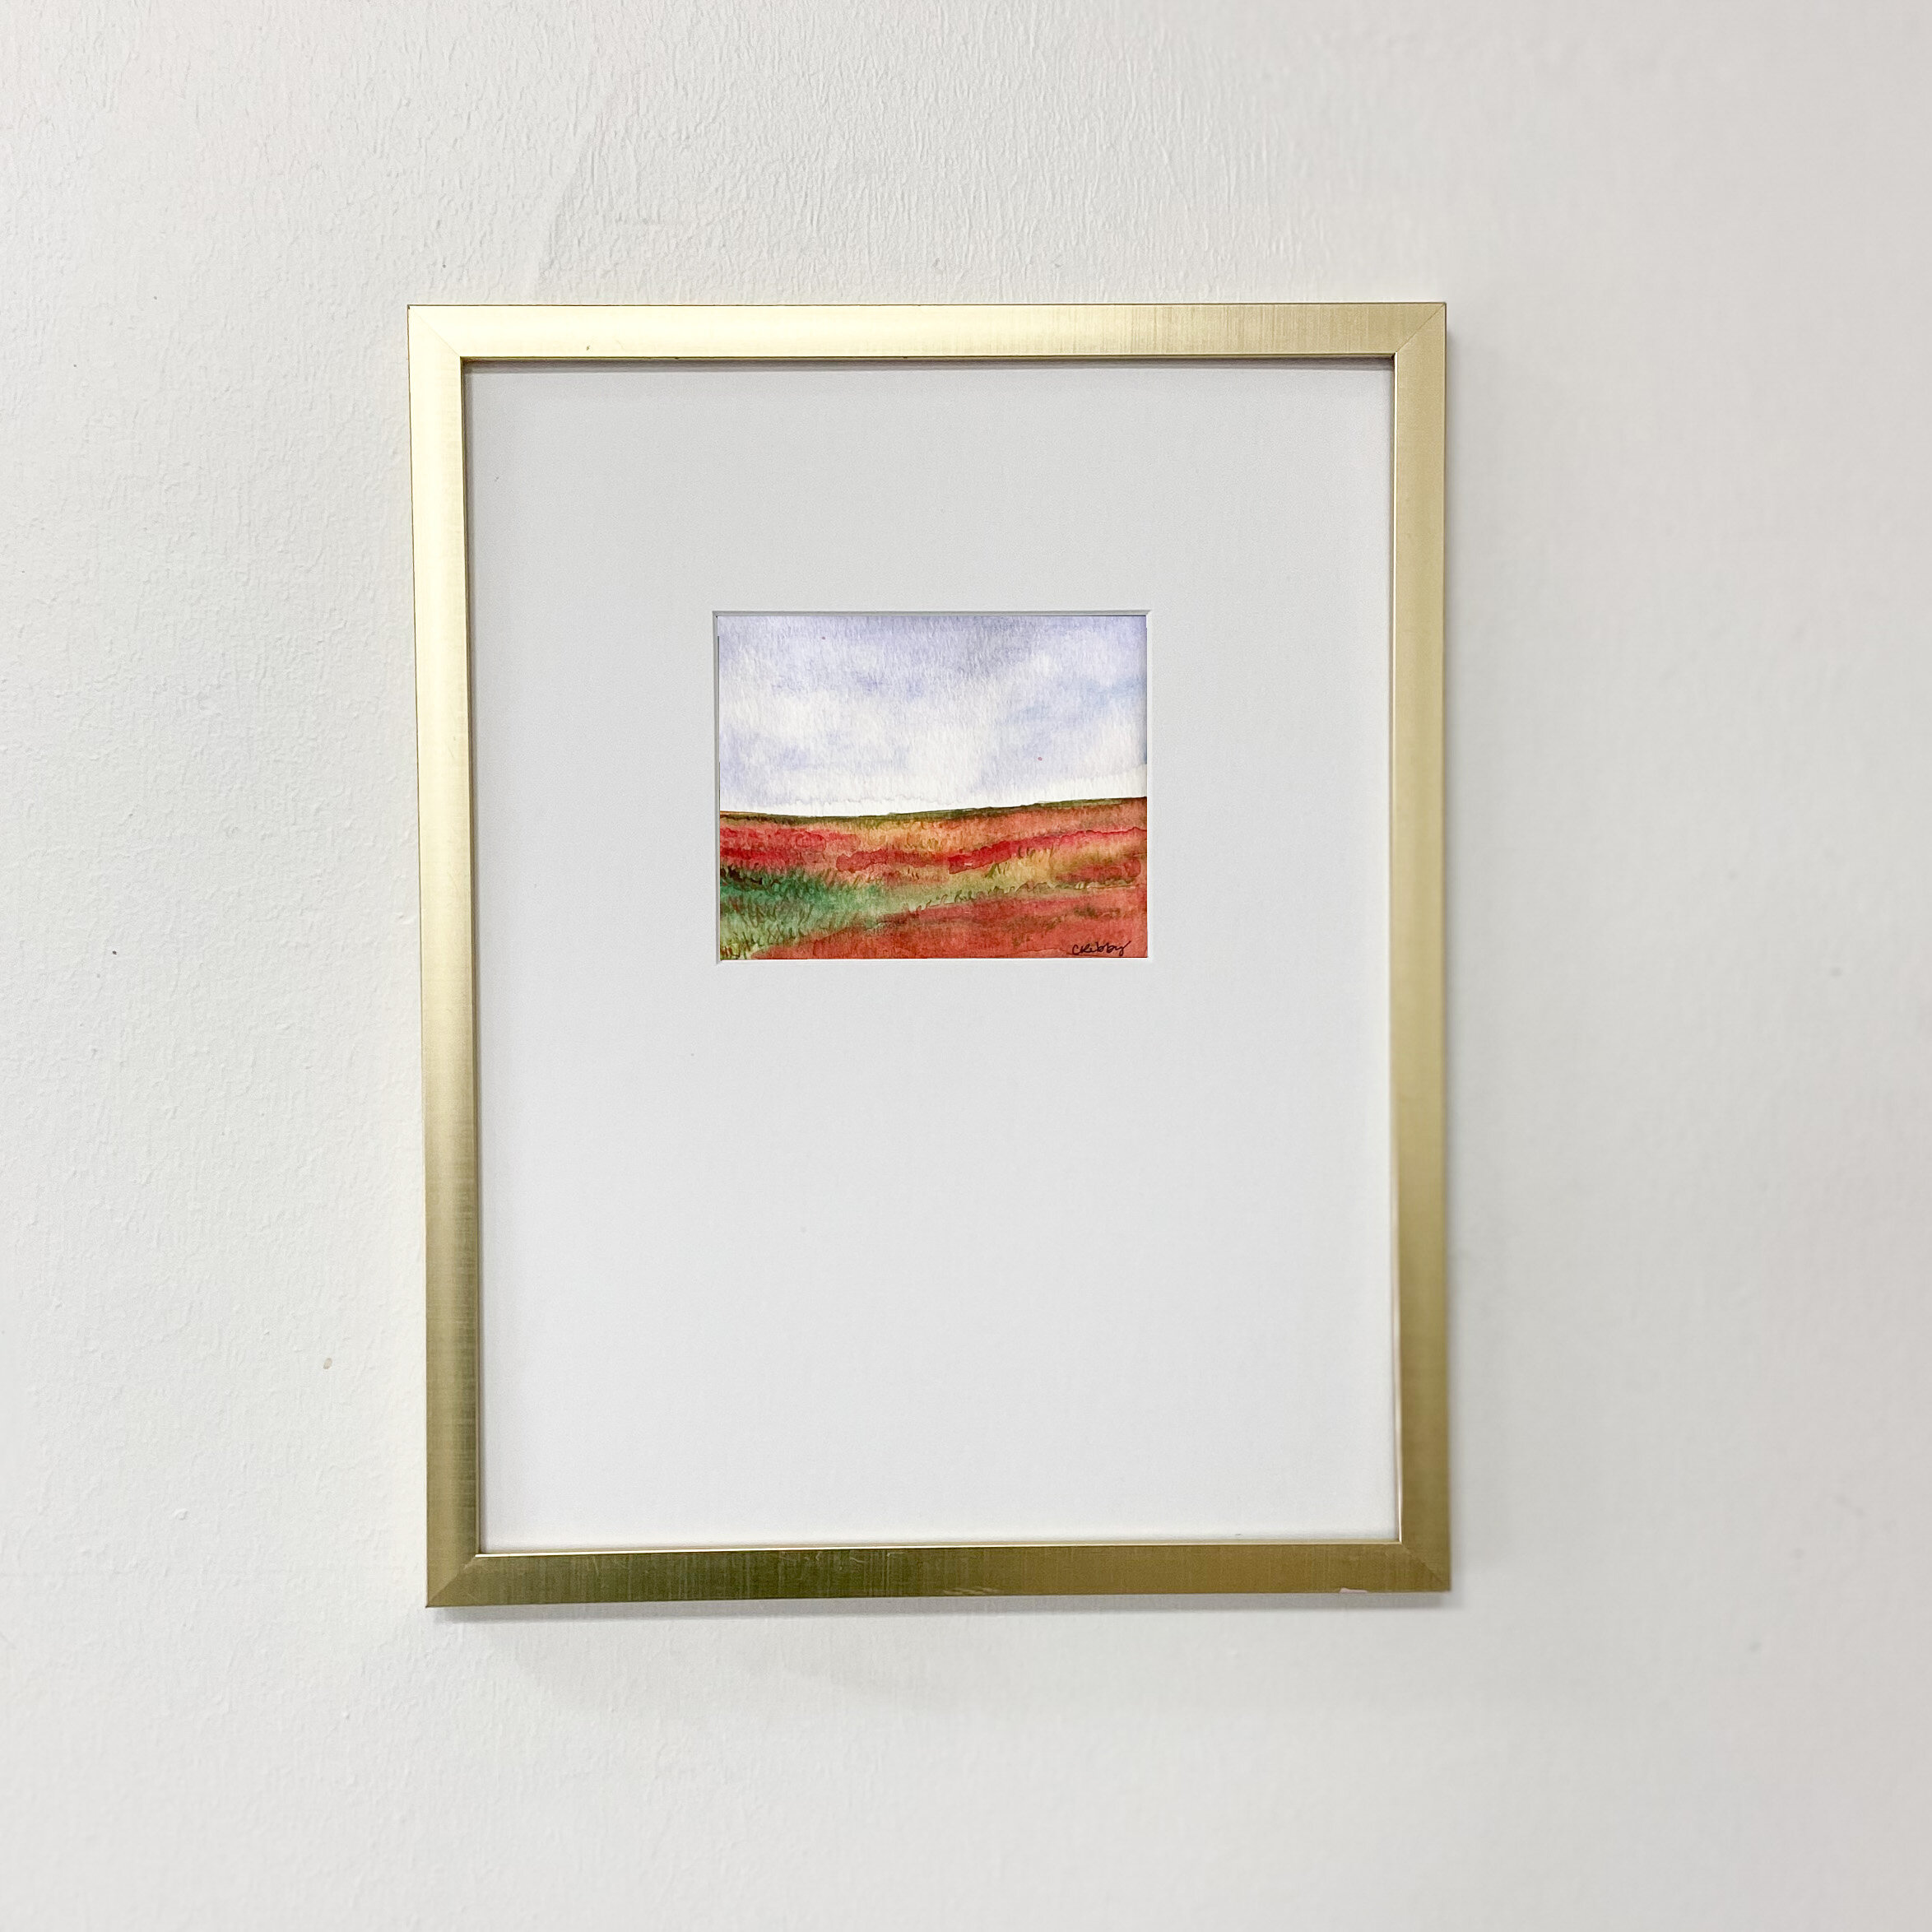
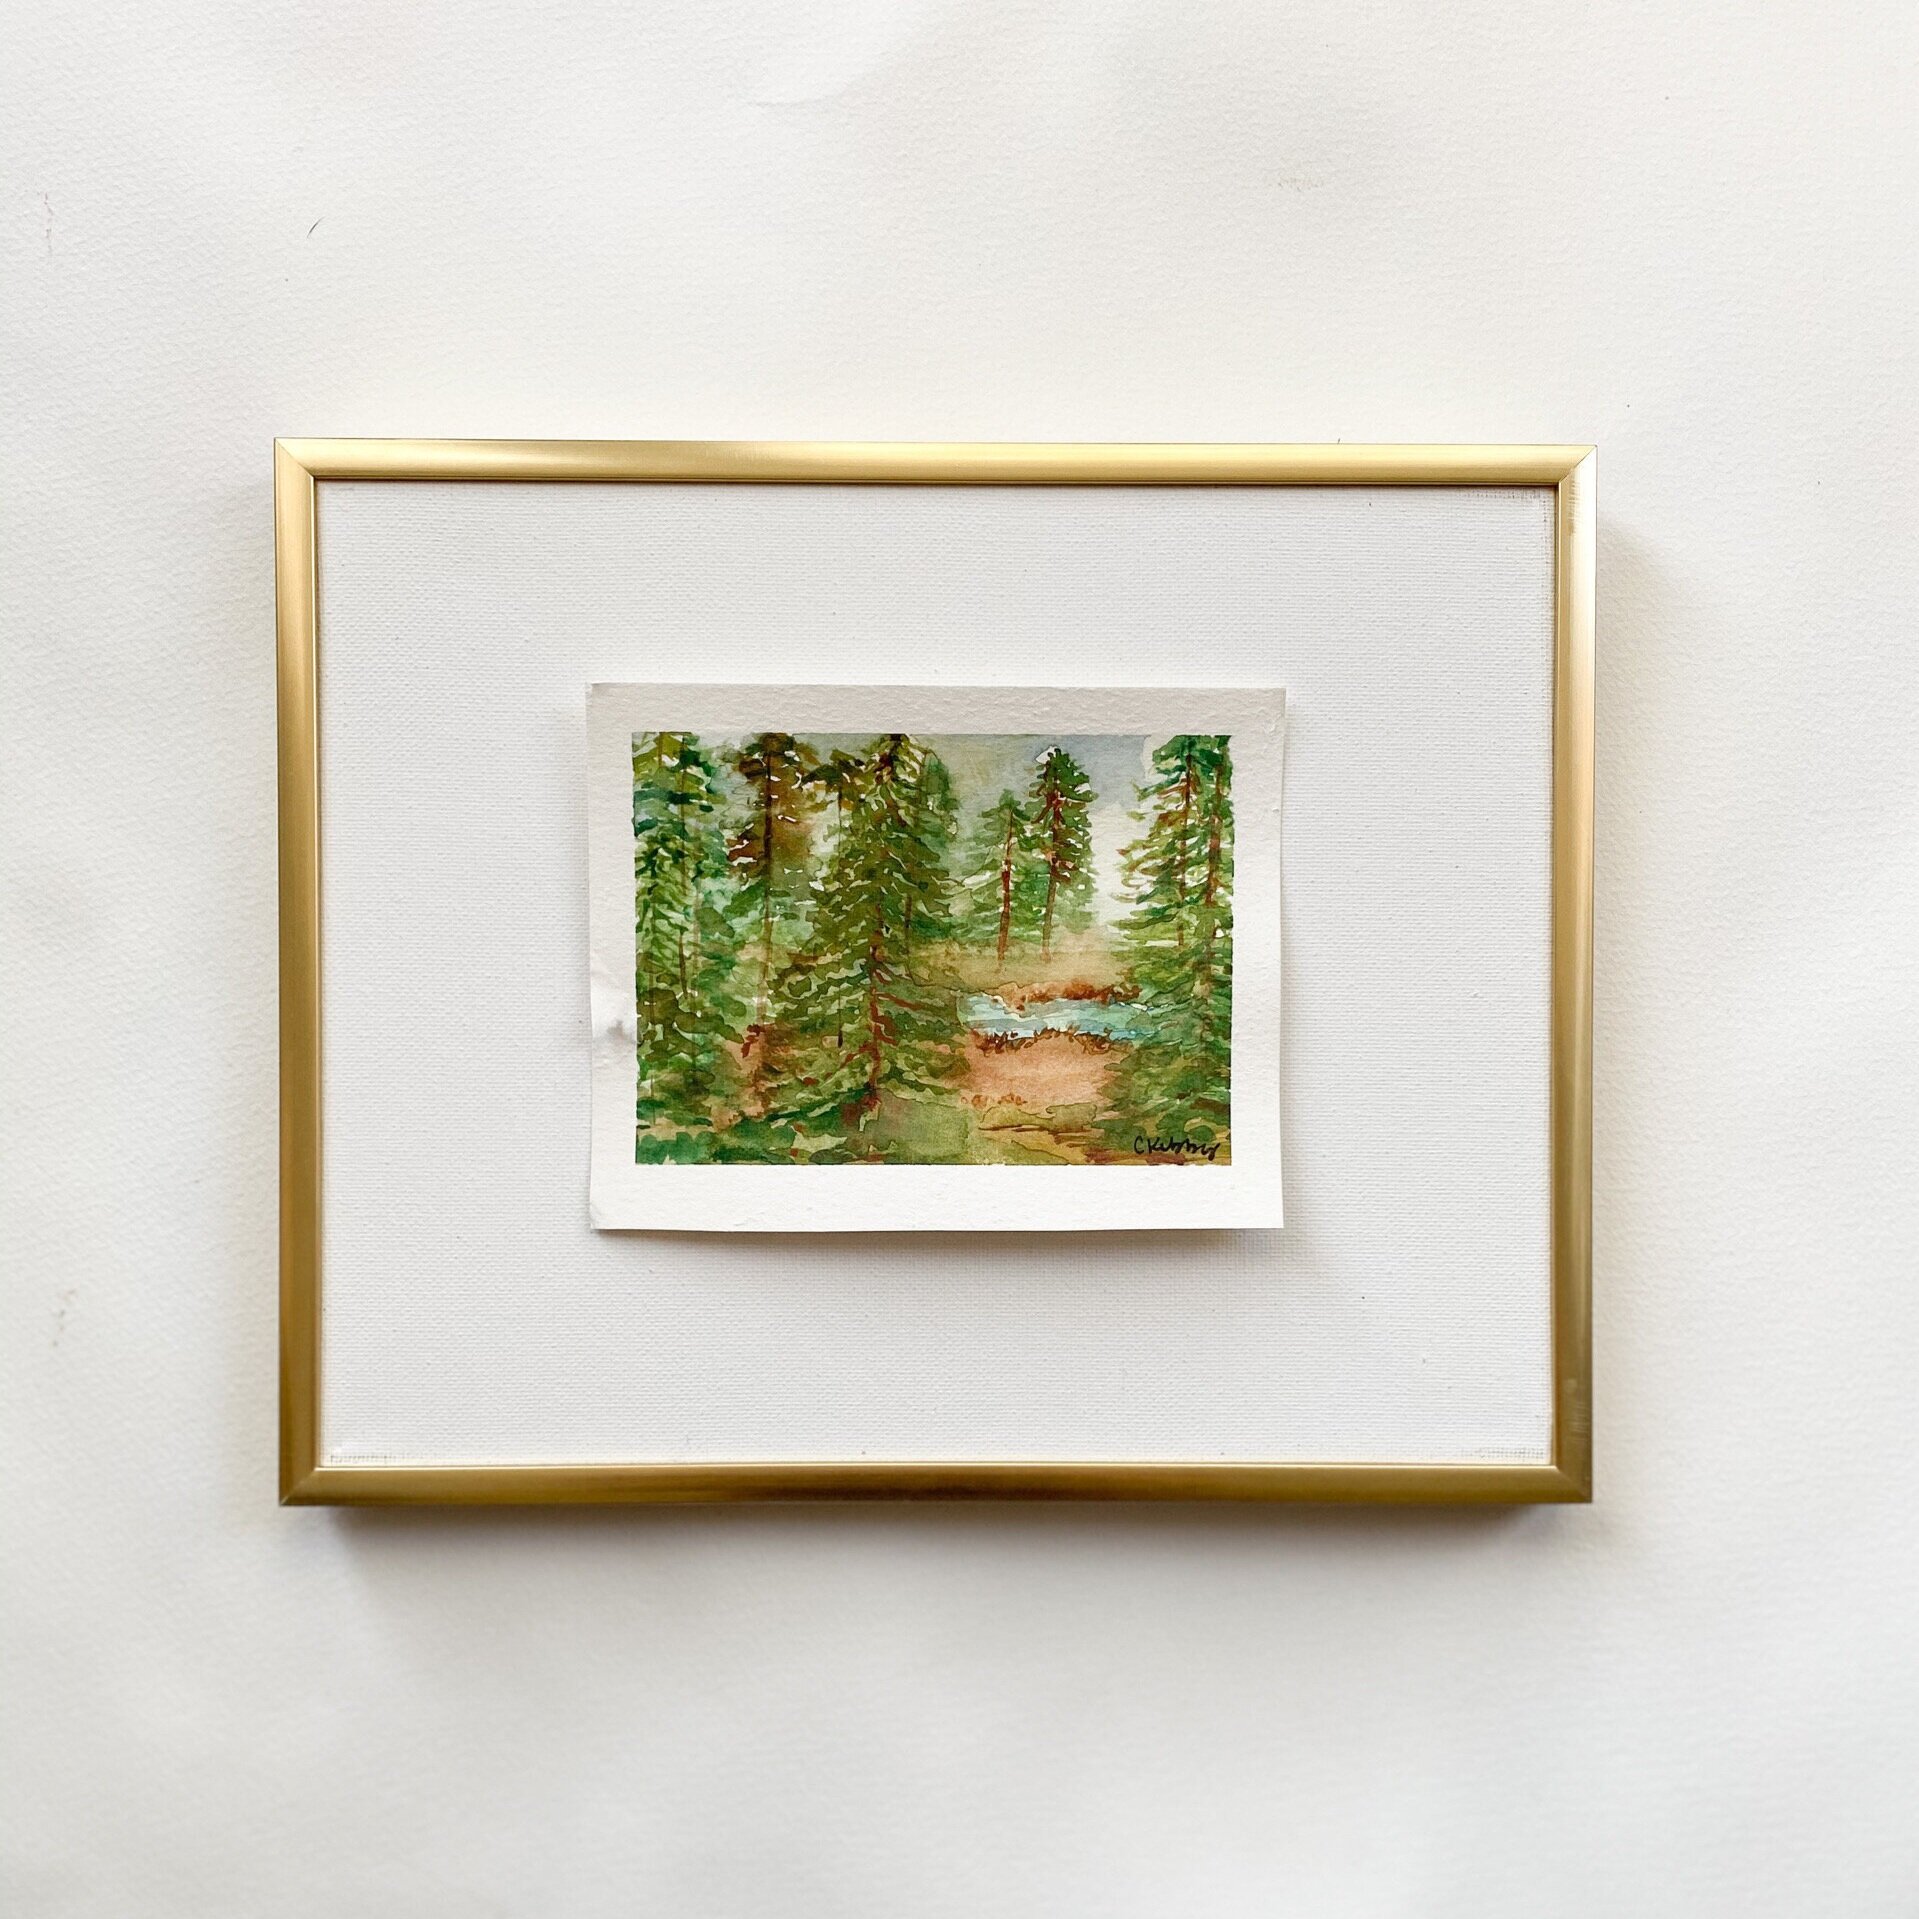
Ex. Here I matted and framed one of my 4×5 painting from The Greater Garden Collection. The mat is 11×14, and the opening is is 3.75×4.75. The reasoning behind the slightly smaller opening?? It looks crisp and clean.
If you want a different look, Matboard and More has some options. But my most important tip is to MEASURE TWICE. Love Matboard and More, but you HAVE to be absolutely certain of your measurements–you’re the one telling them where to cut and how big or small to cut it. Be sure you have the right size or you’ll be ticked at yourself…
PS—this mat trick?! It makes everything look PUT TOGETHER. Do the mats have to be the same size? NOPE! As long as the frames are the same, it will look cohesive. Get that gallery wall up and running TODAY!
FLOATING FRAME
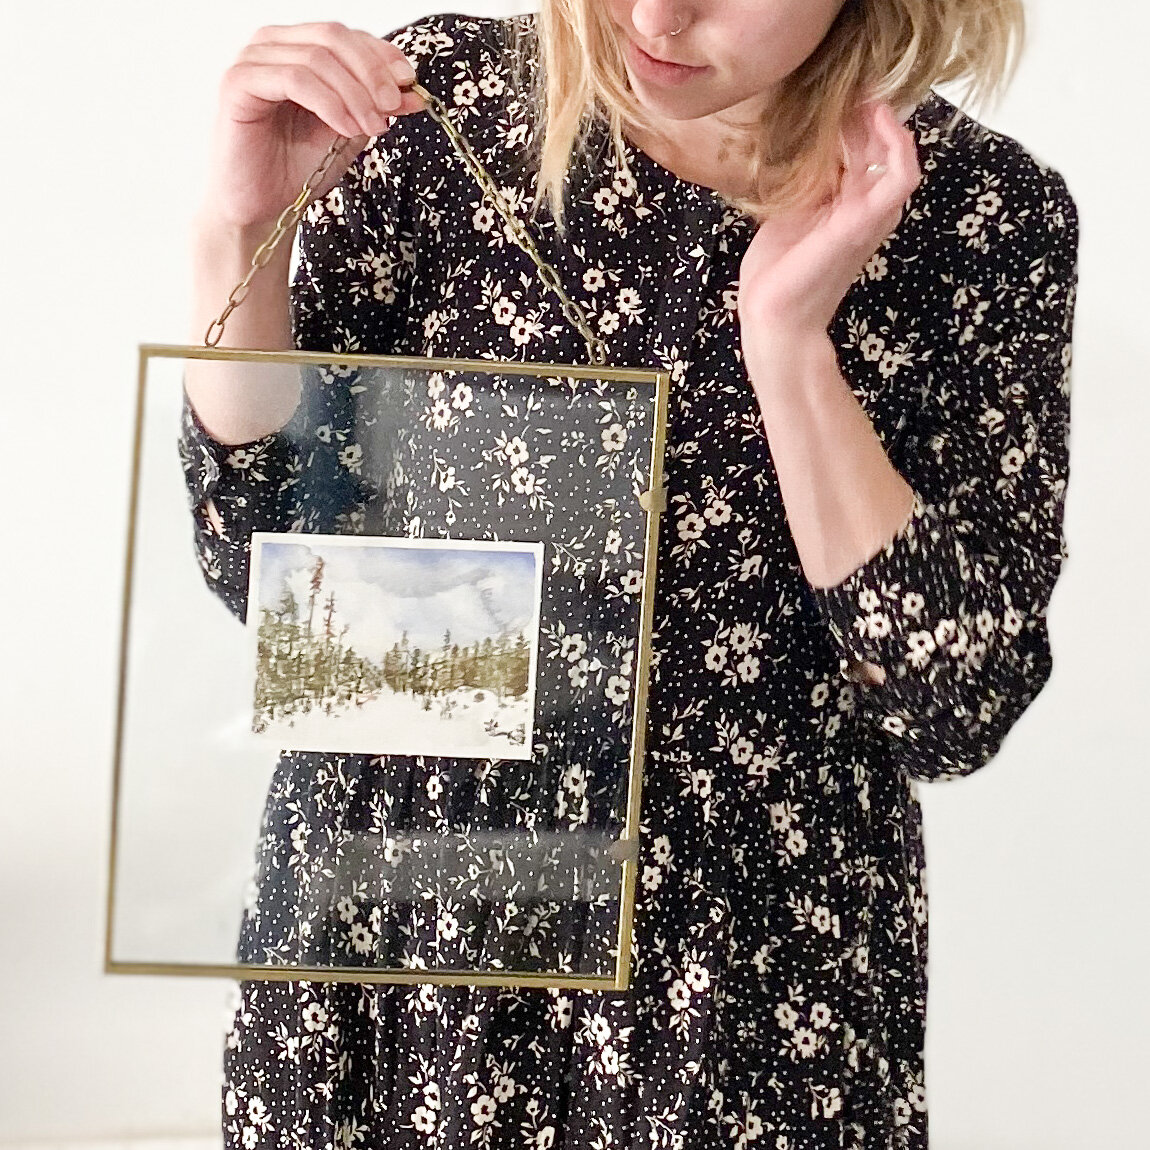
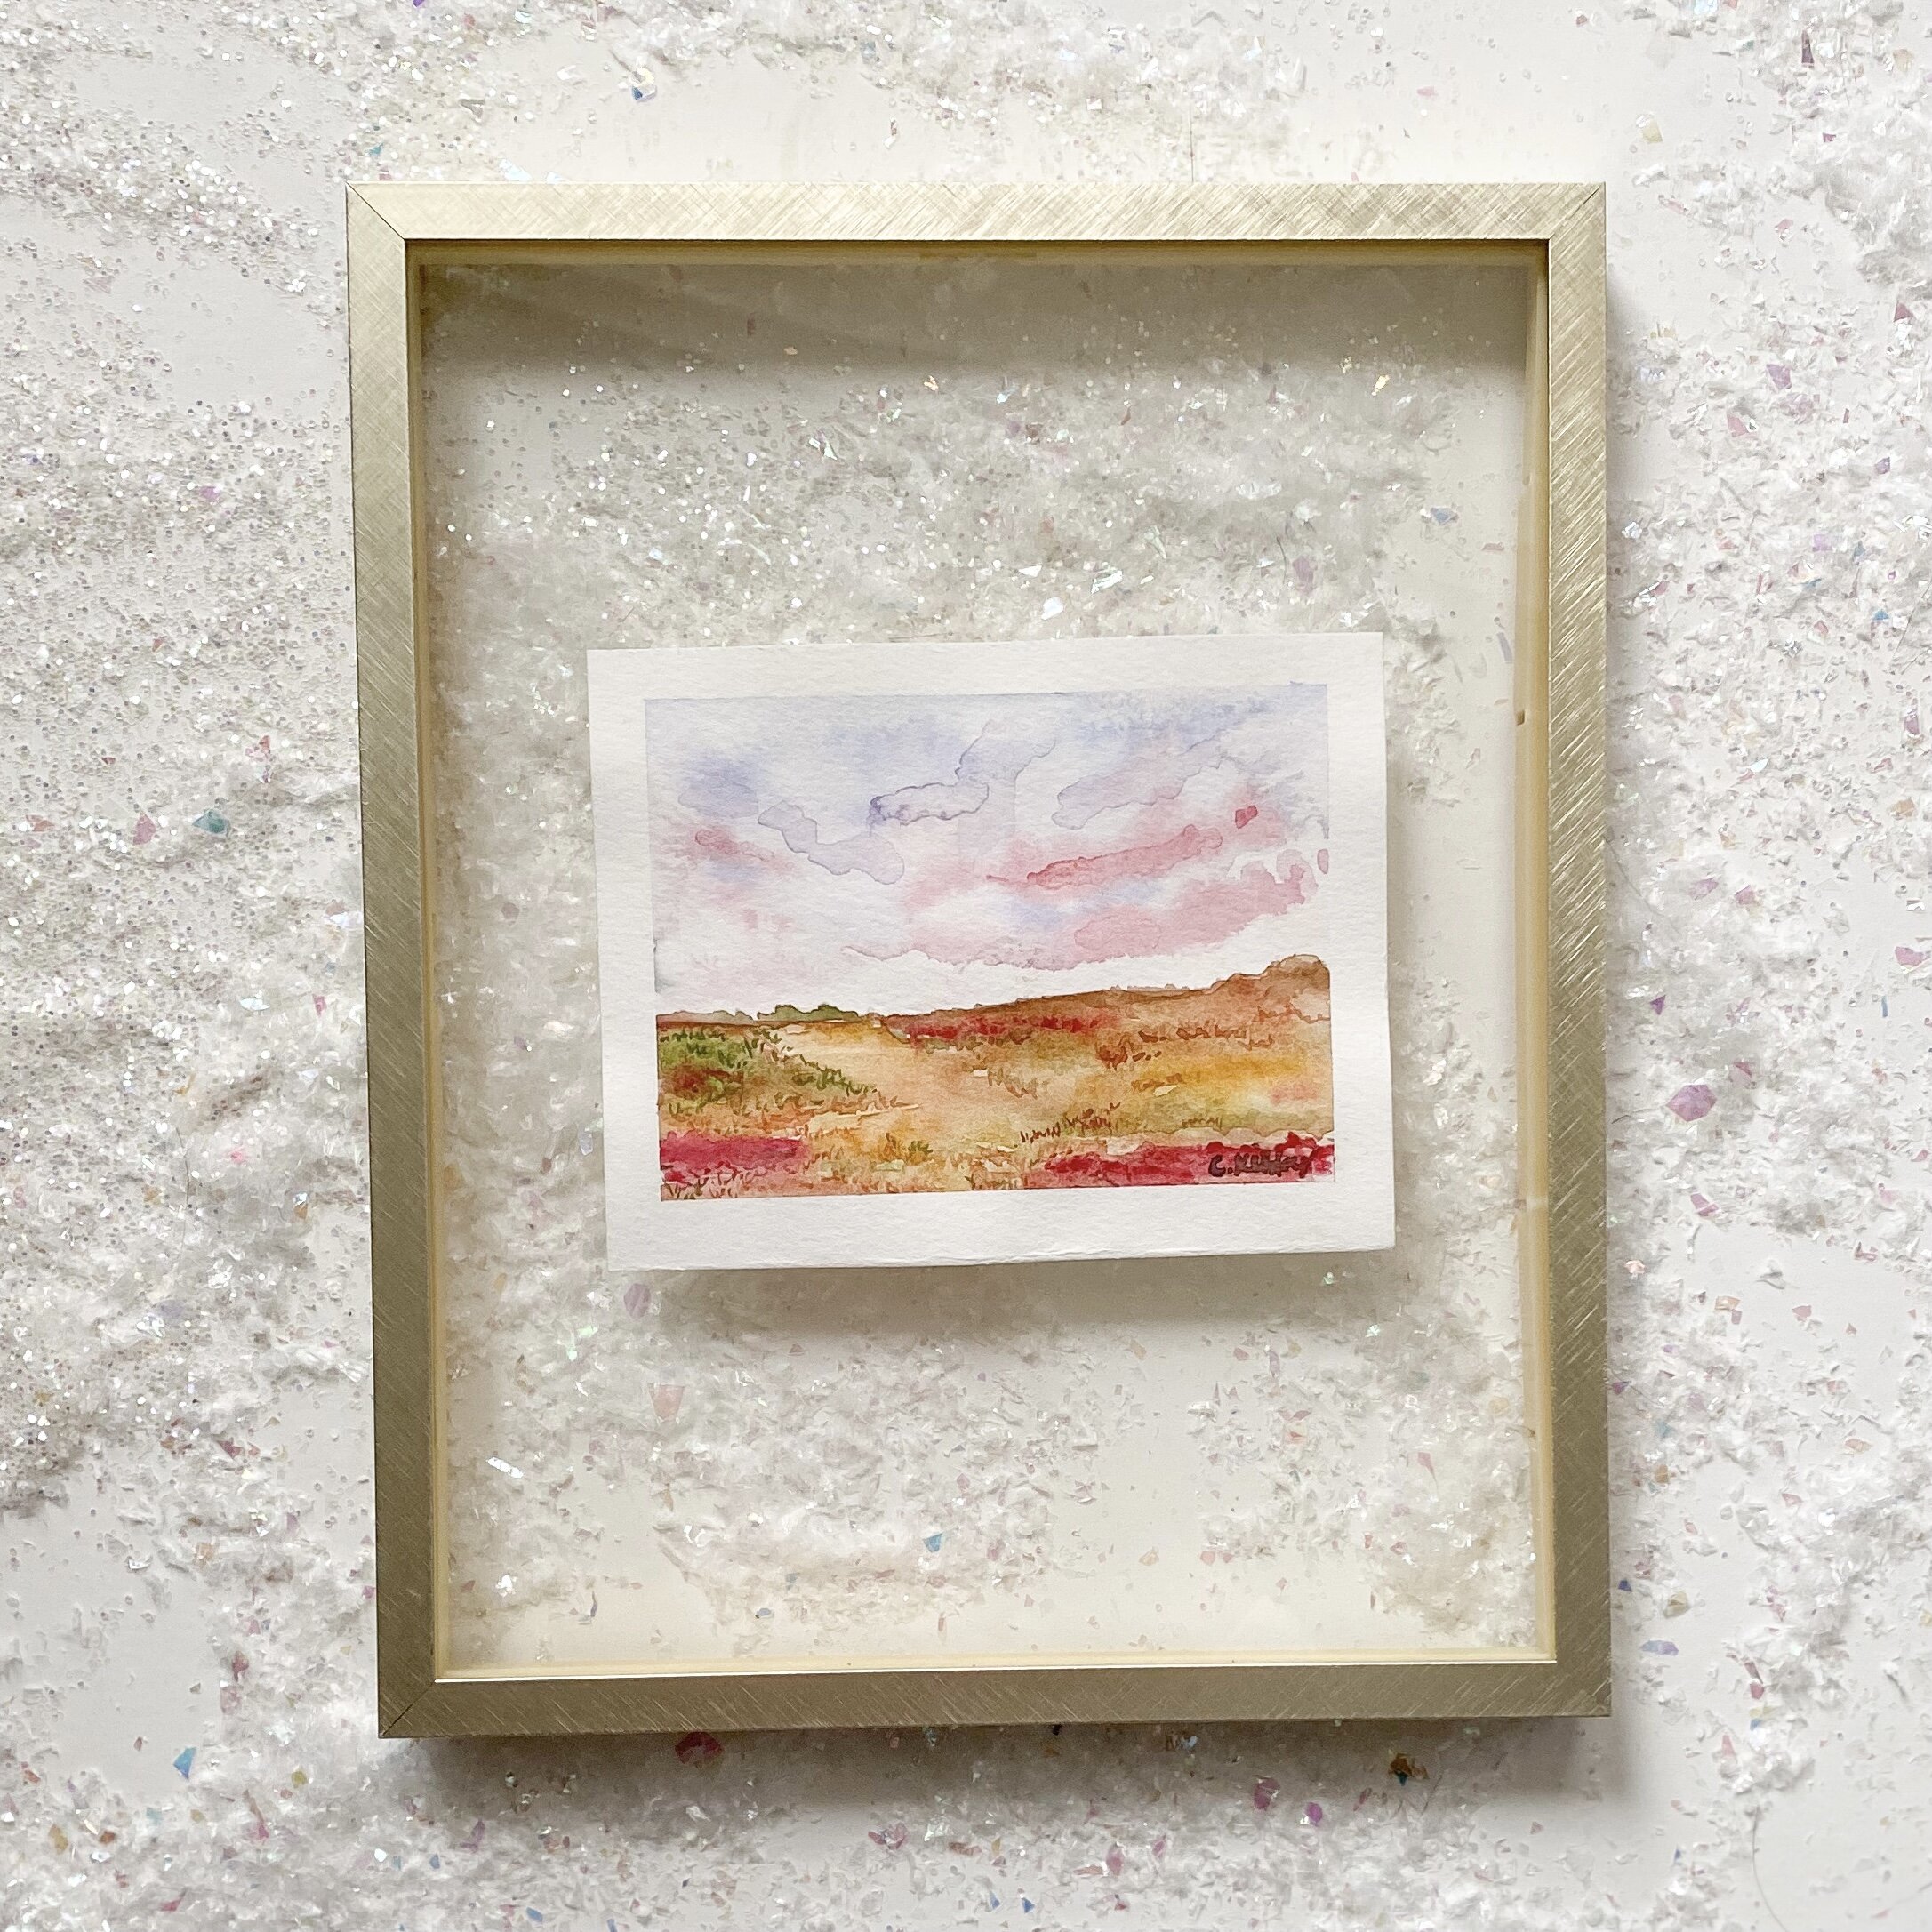
AHHH the glass floating frame. Easily one of the most popular looks of 2020 in the artist world. I don’t know about you, but I saw them EVERYWHERE.
What do I love the MOST about these?
They’re PERFECT for framing oddly sized paintings.
Supplies
-painting
-acid free tape (maybe)
-frame
#block-yui_3_17_2_1_1617885881188_24799 .sqs-gallery-block-grid .sqs-gallery-design-grid { margin-right: -17px; }
#block-yui_3_17_2_1_1617885881188_24799 .sqs-gallery-block-grid .sqs-gallery-design-grid-slide .margin-wrapper { margin-right: 17px; margin-bottom: 17px; }
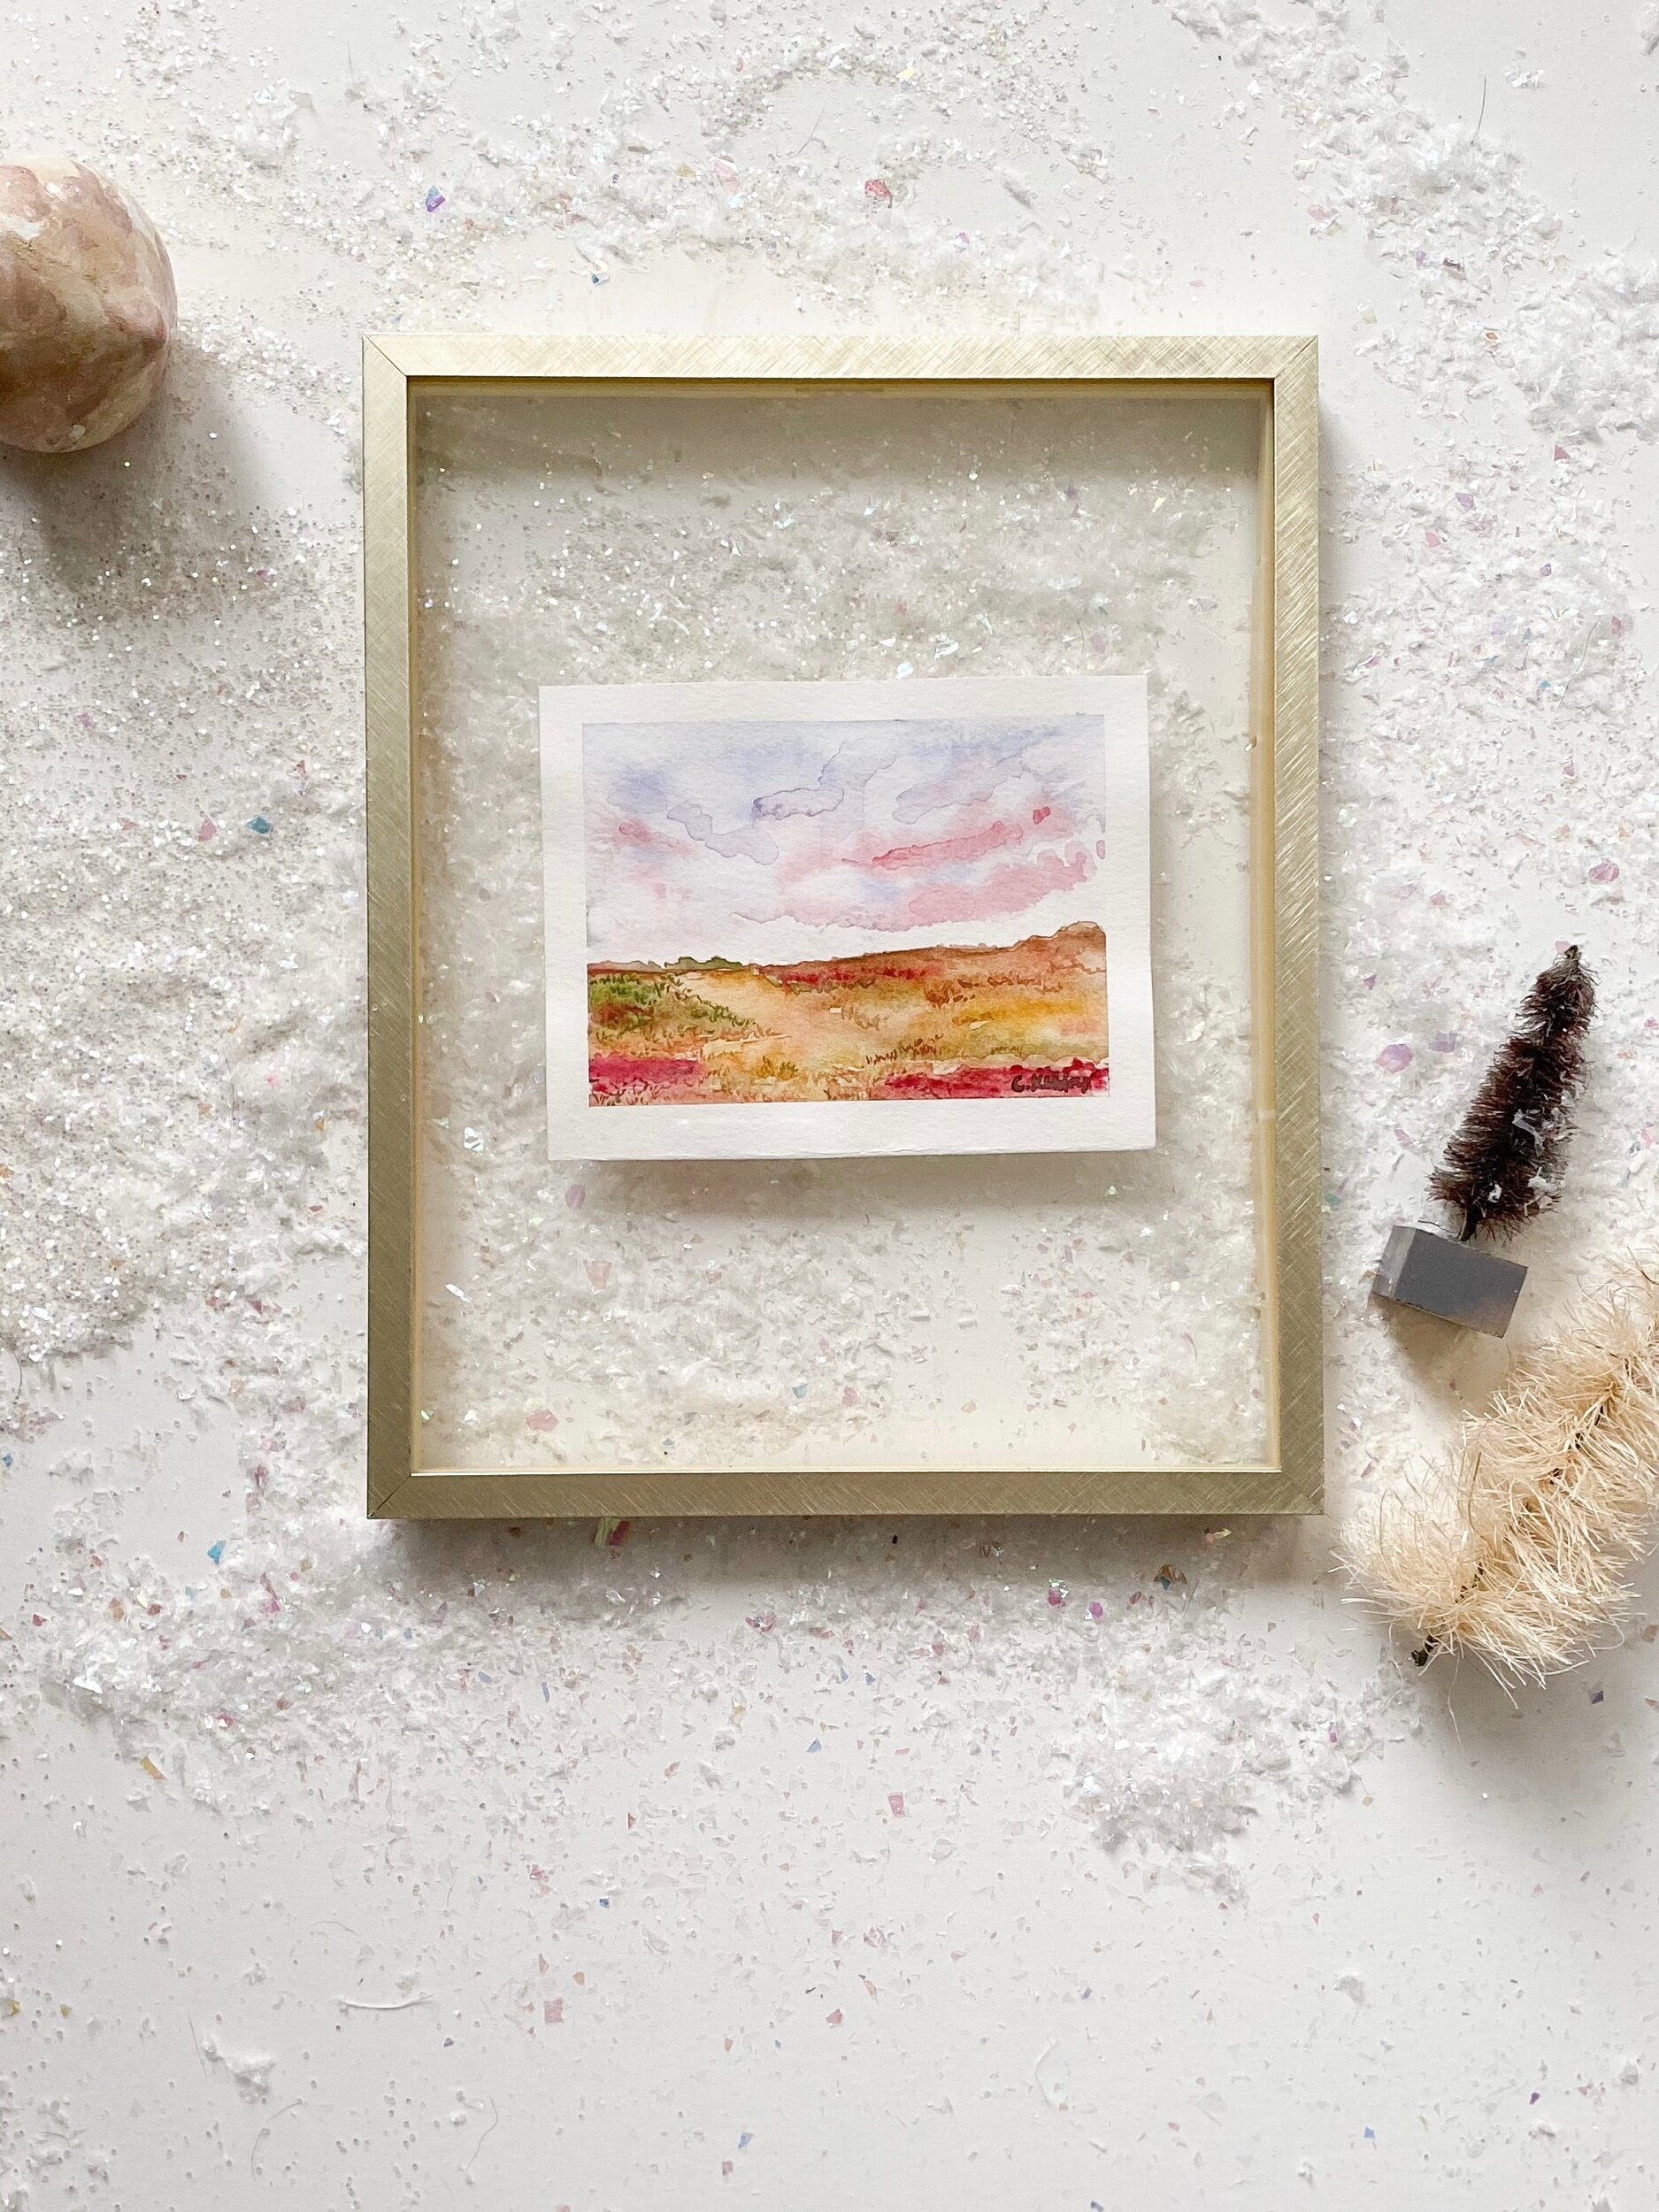
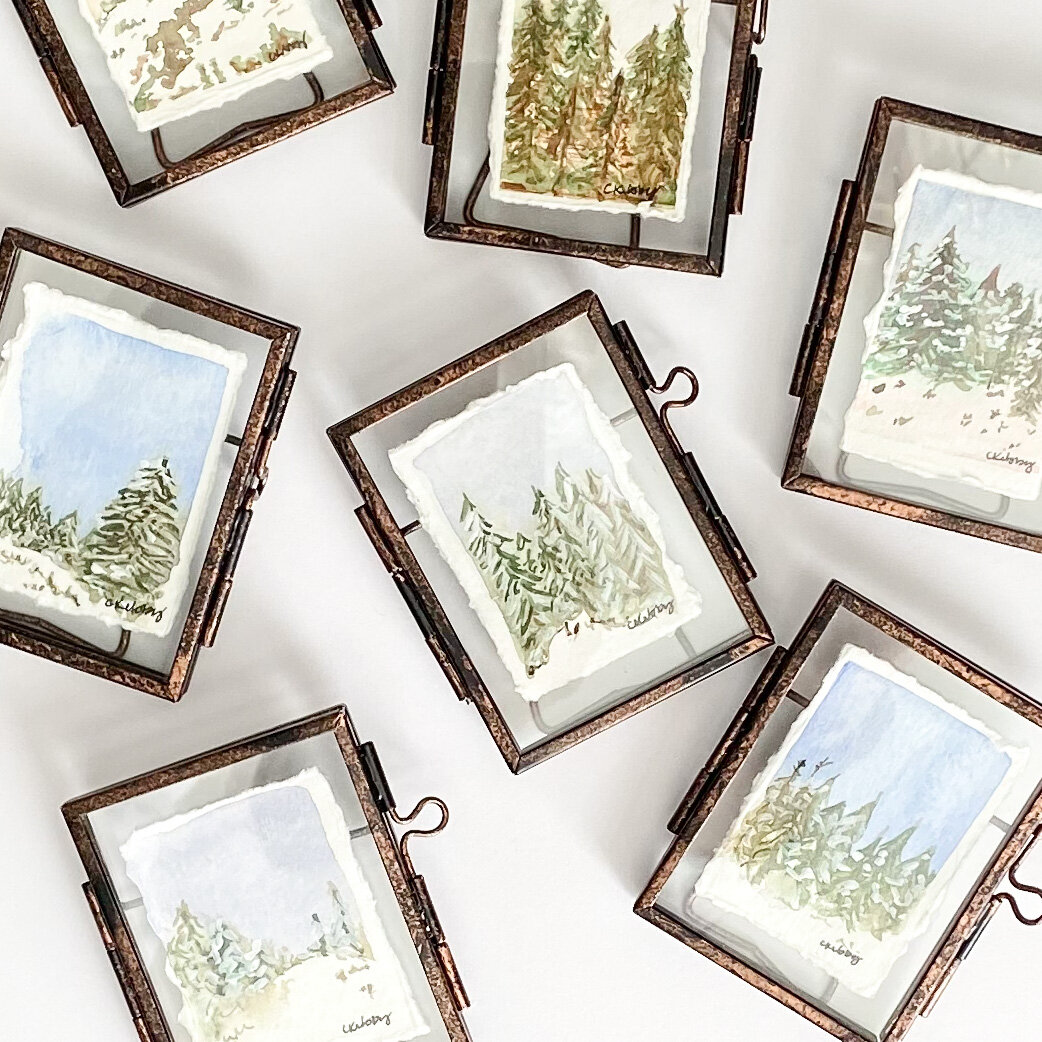
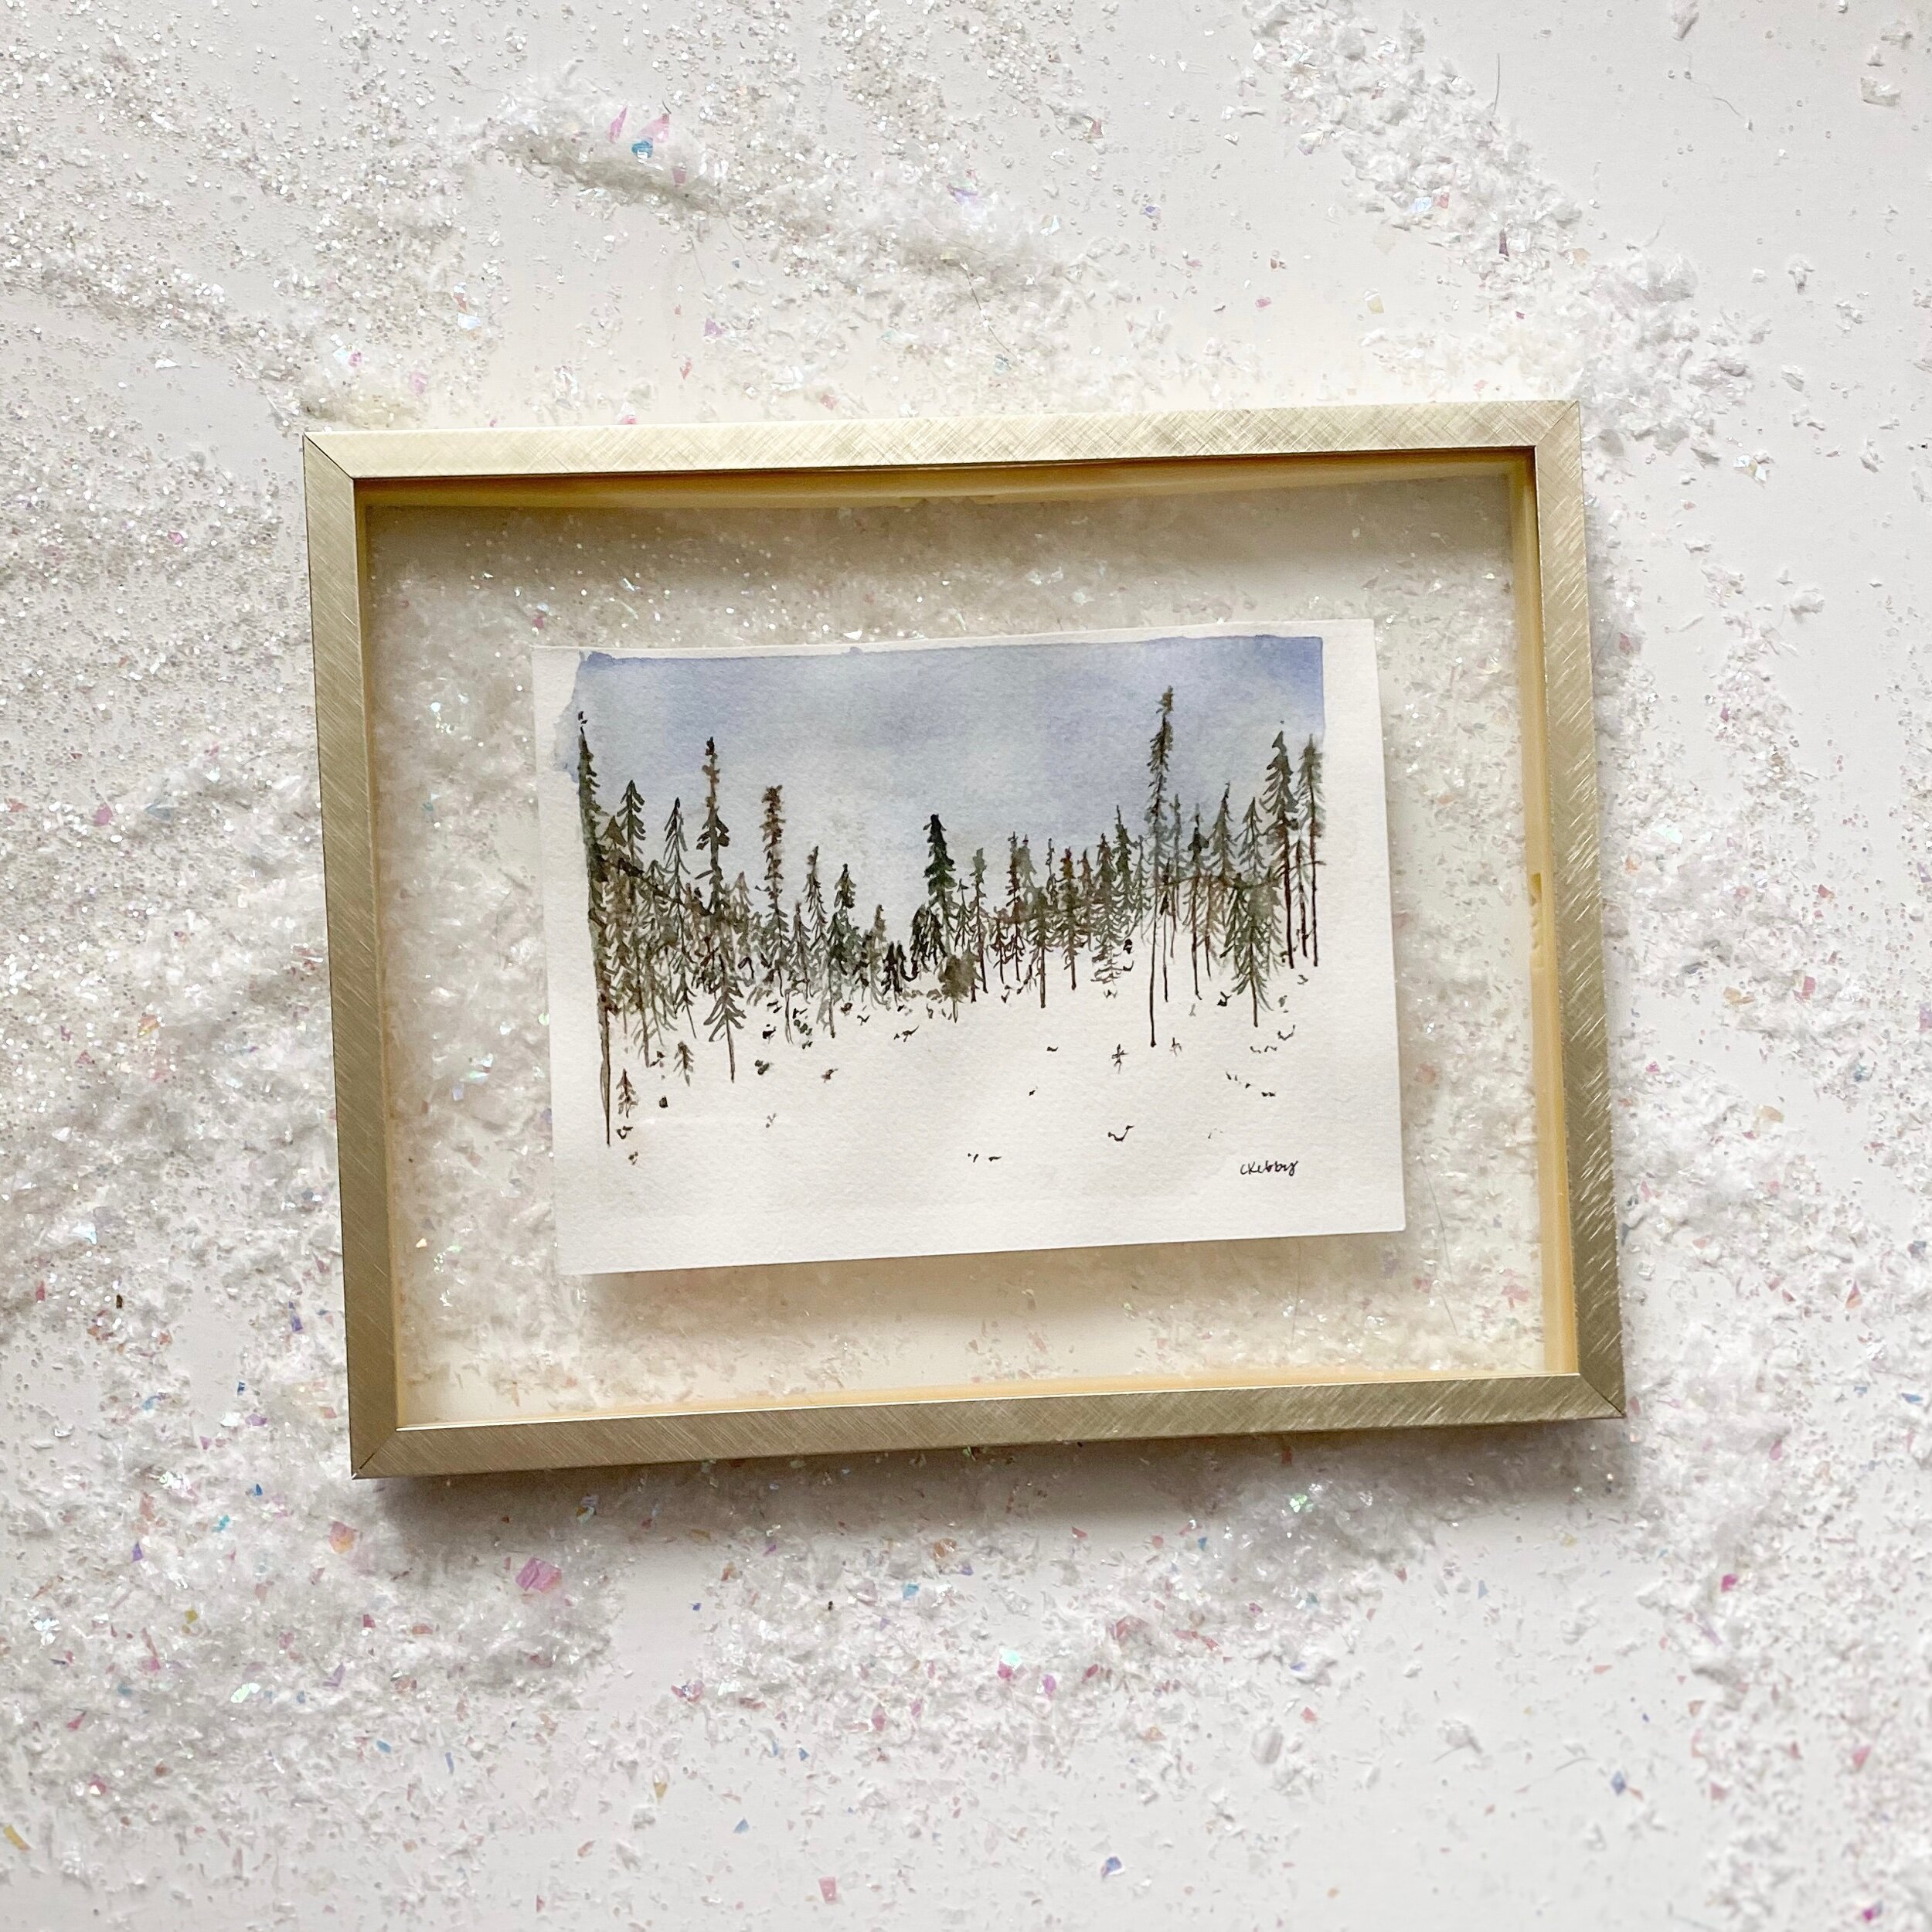
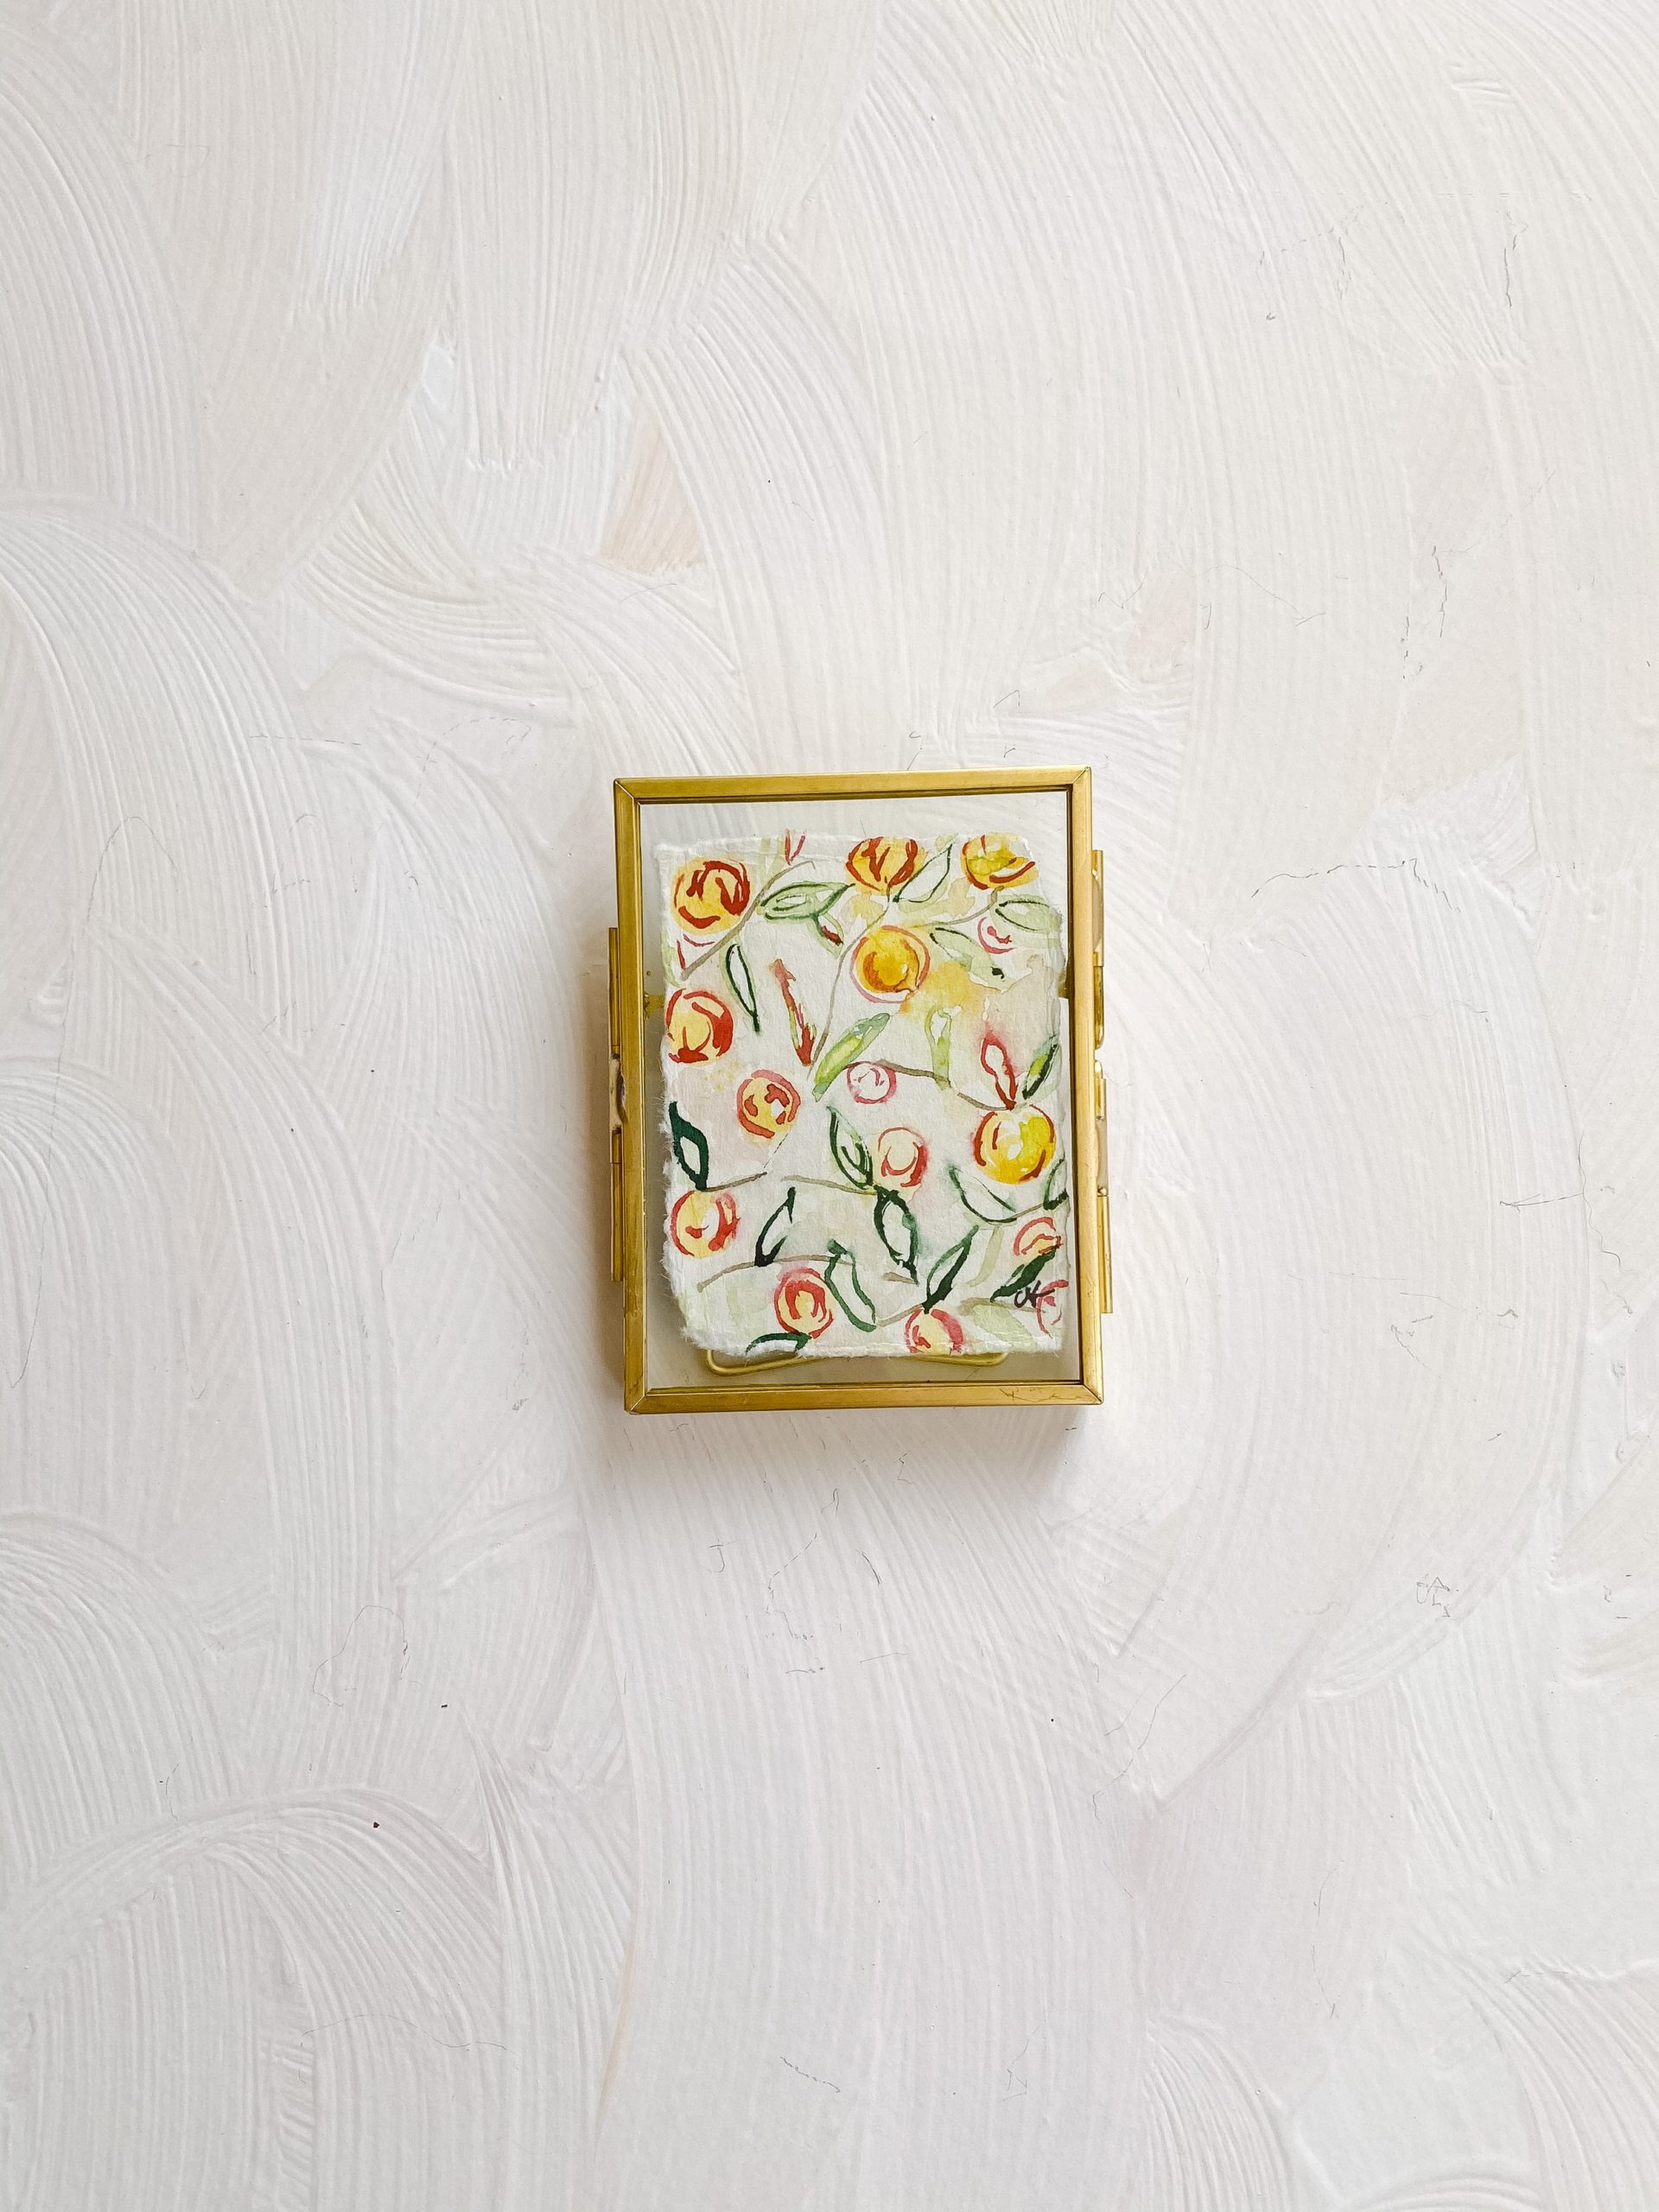
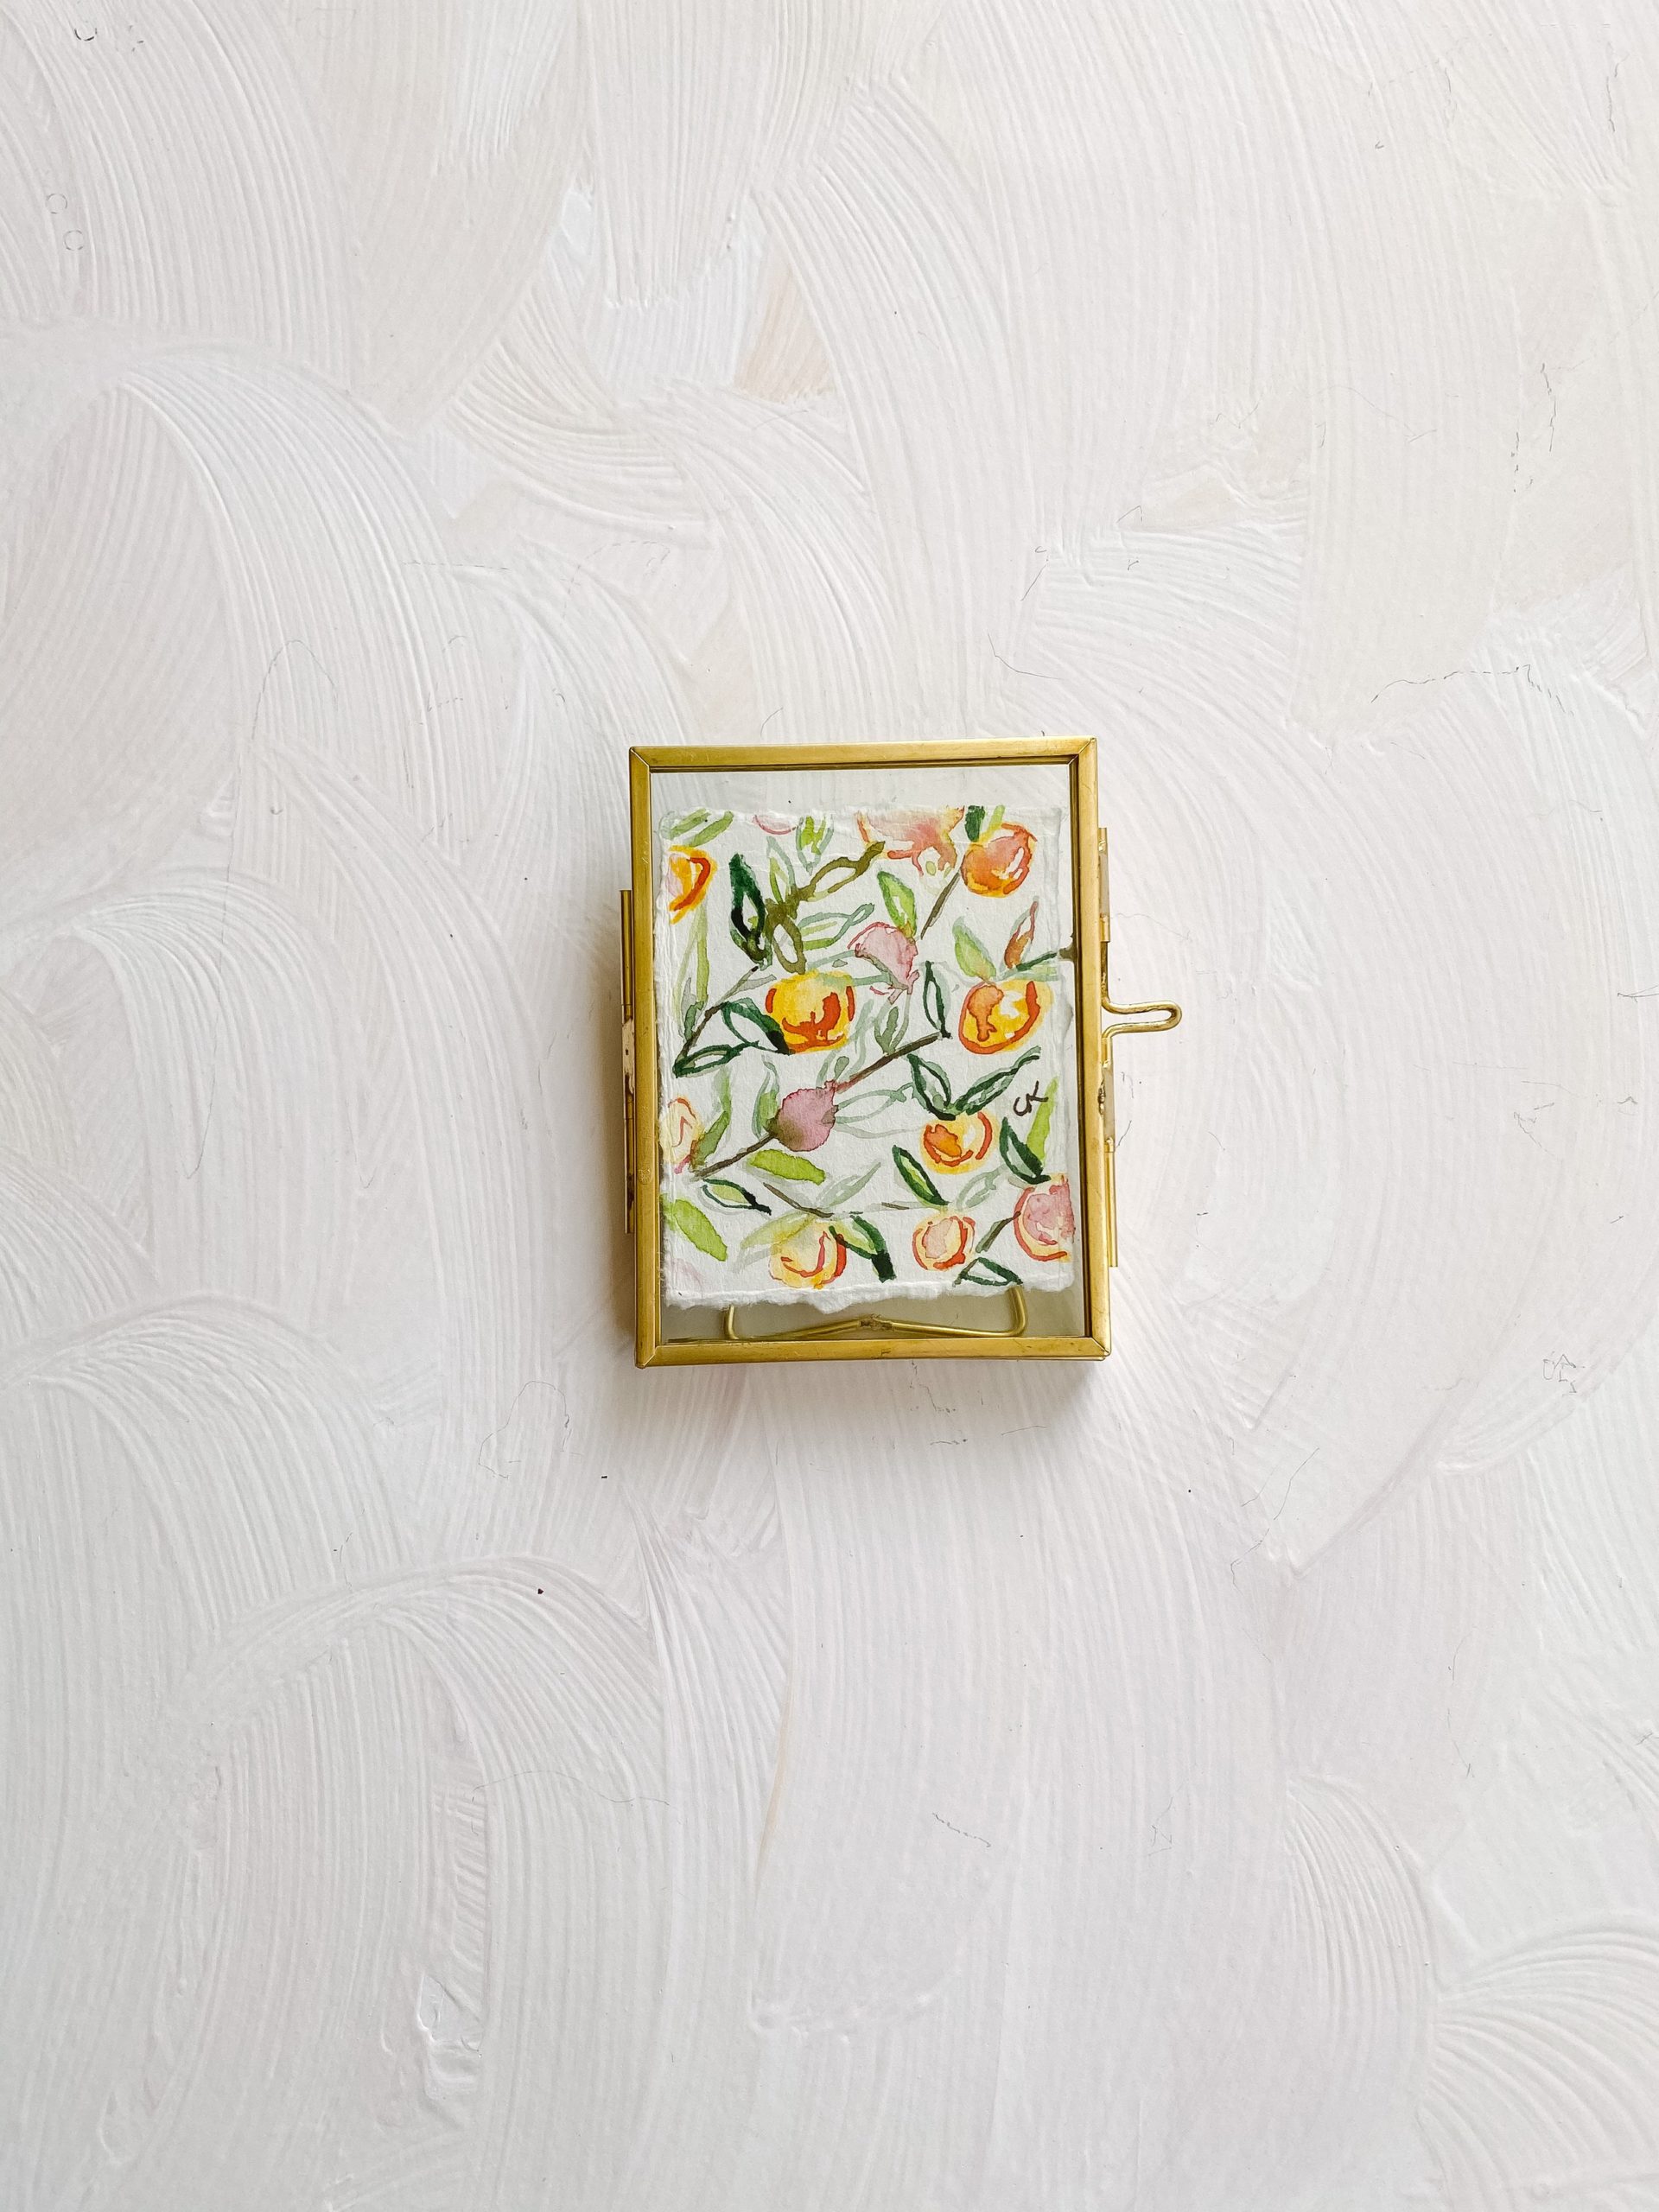
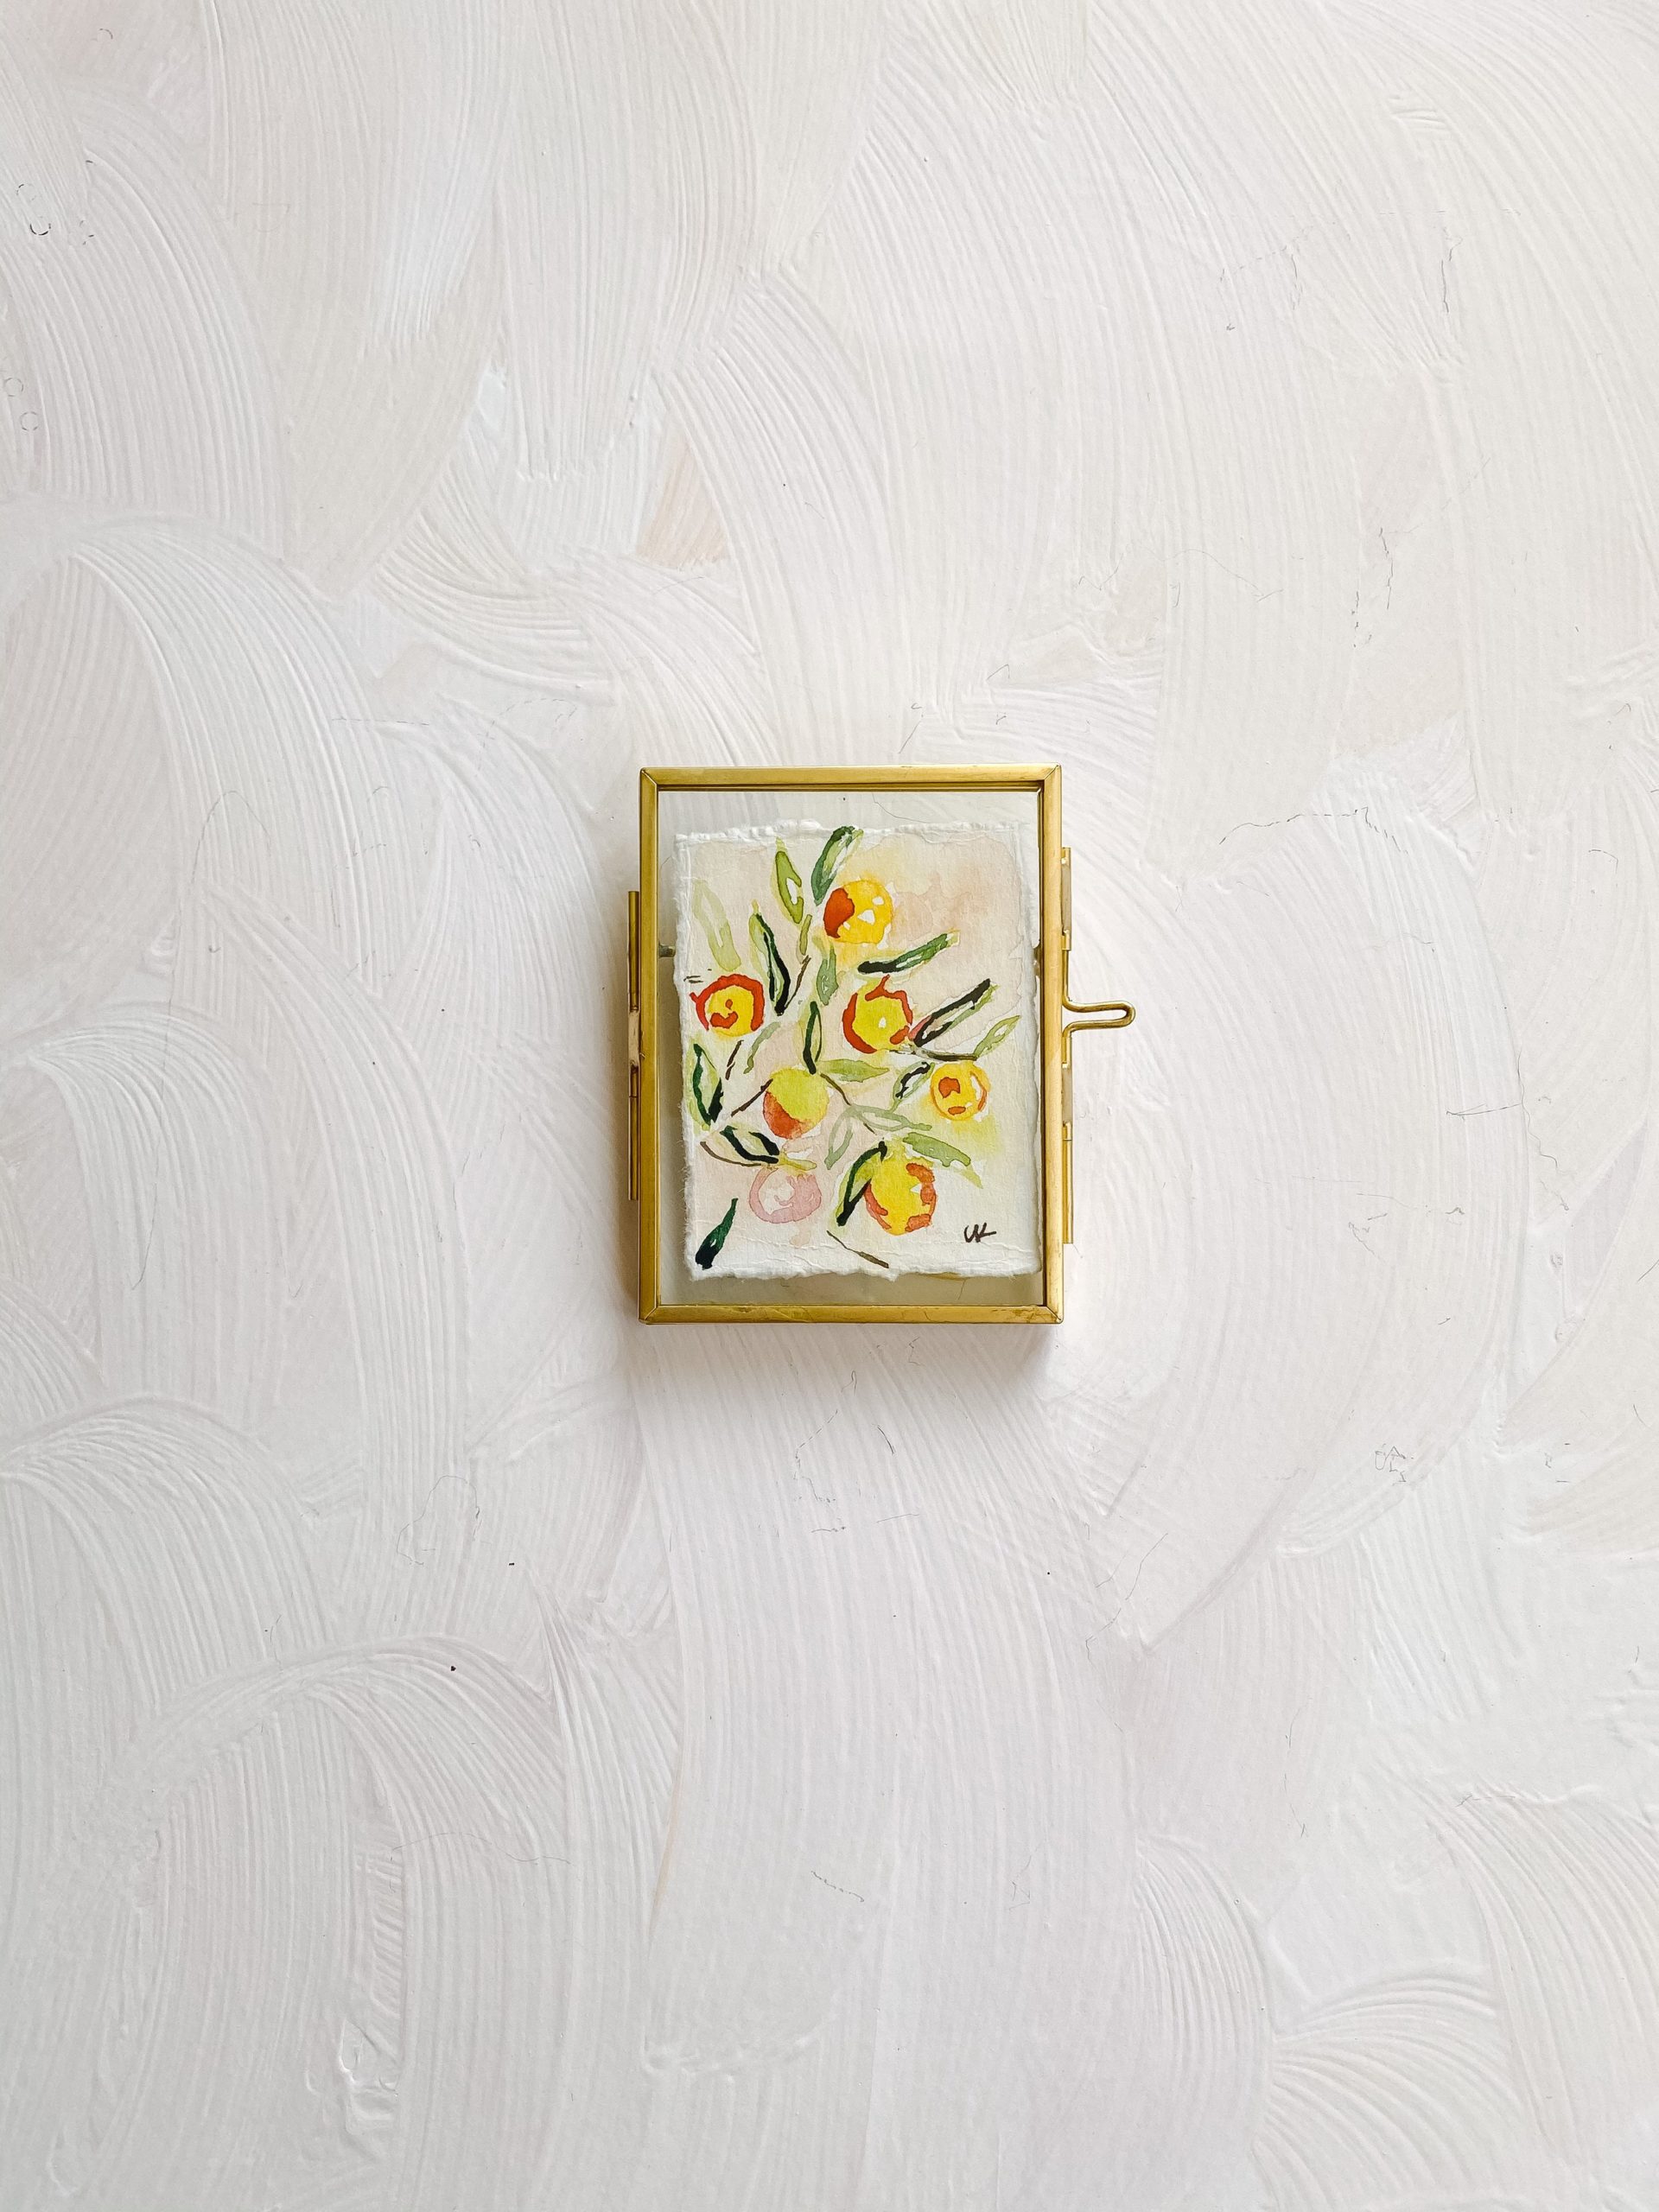
Here’s a few examples of a floater frames from my 100 days of painting (yep, all pretty oddly sized).
The easiest part? JUST PUT IT BETWEEN THE GLASS. You can find cheap options at Target, Hobby Lobby, Amazon, etc. For all that I don’t like box stores, sometimes you can find a good cheap fix to make your painting look STELLAR in your home until you can afford to get a nicer frame. (Or don’t! No judgement from me!)
CHEAP FRAME + MY OWN SUPER SECRET TRICK
OKAY PEOPLE–this is my super secret Jedi trick that I figured out in college.
You know how college kids don’t have any money? Well, I for sure didn’t!
BUT I had stuff I wanted to frame. SO what did I do? I was resourceful as heck.
Supplies
-cheap frame
-paper (or flip the inner paper around)
-painting
Here’s the super easy steps to this CHEAP framing trick.
-
Buy frame at Dollar Tree.
-
Turn the paper inside around (typically it’s white) — if it’s not white, grab a piece of printer paper.
-
TAPE the painting to the paper and frame.
THAT’S IT!
I’ve done this for years. Is it perfect? Nope, but it WORKS—and if you wanna get fancy go grab a cardstock or scrapbook paper or a blank canvas from Hobby Lobby that’s a better color than pure white printer paper. Not necessary, but TOTALLY an option.
In this post we chatted about:
The ✨JEDI FRAMING✨ trick to get your art gallery wall to go from mismatched to PUT TOGETHER instantly
The EXACT hacks I use to frame artwork in my own home *esp when money is tight*
A checklist for EACH option and links to be sure you can easily frame that artwork you’re dreaming of
ONE super simple, less than 30 minute task you can do ASAP to plant that cute lil’ painting on your shelf or wall.
YOU DON’T HAVE TO THROW MONEY AROUND LIKE CONFETTI TO DISPLAY YOUR ART.
YOU ARE WORTHY OF BEAUTIFUL ARTWORK (yes, that also includes prints).
DON’T LET YOUR BEAUTIFUL HOME DIE ON THE HILL OF “BUT I DON’T HAVE ENOUGH MONEY.”
You’ve got this. Use these budget-friendly tips to make your home a compliment magnet! (and get started with this free print below!)
Want to get your gallery wall up and running?! Click here to read the post and here to get your free print.
Speaking of, snag that right here.
Now, which trick will you try first?! Tell me in the comments! AND bonus points if you SHARE IT ON INSTA + TAG ME! @courtneykibbydesigns





Home Decor
Home Decor
Home Decor