Well hey there friend, I’m so glad you’re here.
Do you ever watch Grey’s Anatomy?
I must admit I’m a lifer when it comes to Grey’s Anatomy. I’ve watched every episode MULTIPLE times — and I could still go back and rewatch it. I mean come on, Shonda Rimes KILLSSSS it with those storylines, Ellen Pompeo might be my favorite actress of all time, and truly no TV couple compares to Merideth and Derek’s love story.
But… even though I love the show and know a LOT about it — I couldn’t go out and perform a surgery.
You’re probably thinking — WELL DUH COURTNEY, YOU’RE NOT A SURGEON.
To which I say, yes that’s correct — I’m not.
BUT do you know what — most people feel that way when it comes to art too.
They love watching the YouTube tutorials (even though they don’t get to a solid understanding of *how* to actually do something), but when it comes to putting it into practice?
It feels like your first day as an intern at Seattle Grace Hospital — and there’s no stinkin’ way you’re stepping foot into that metaphorical artist OR.
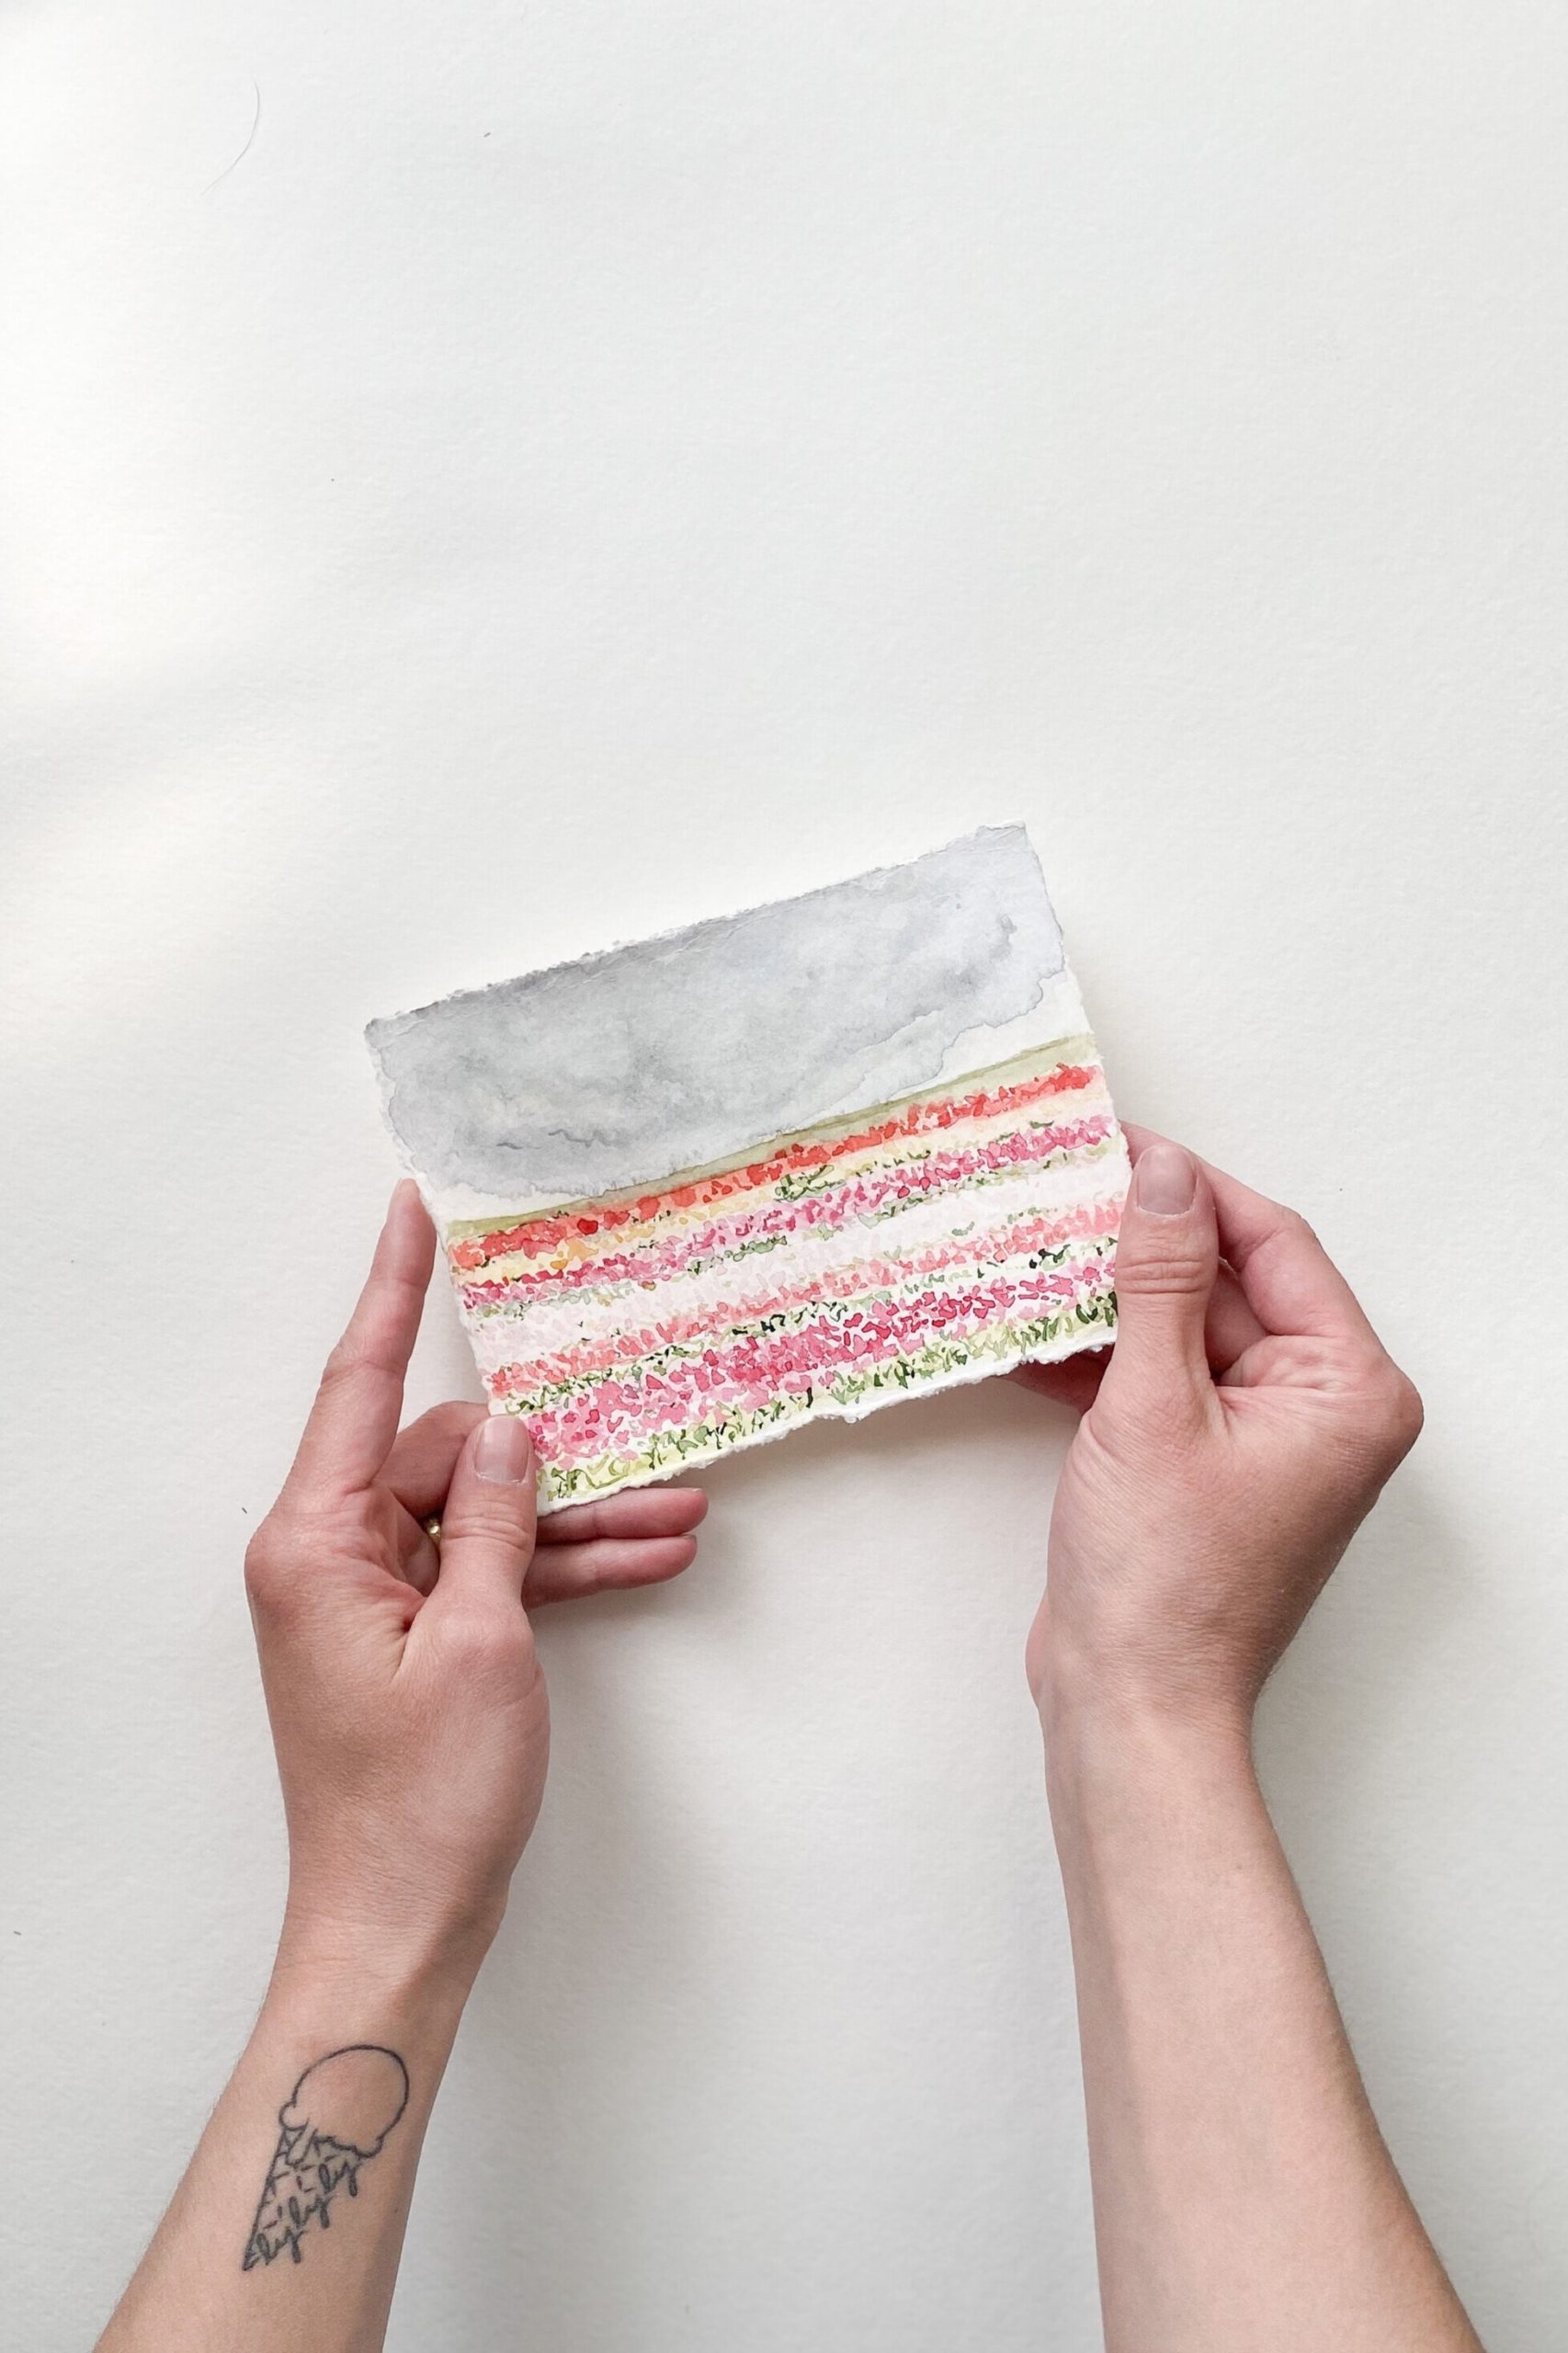
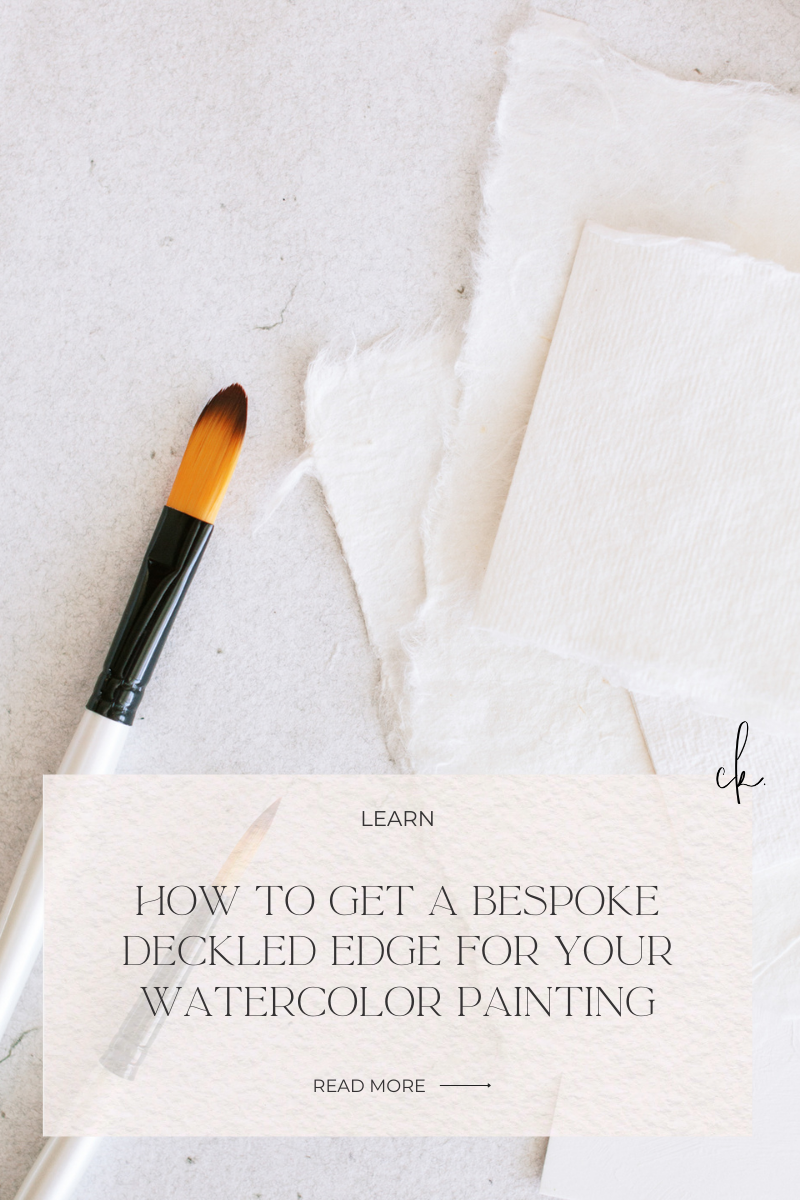
In this blog I’m sharing the 411 on how to get a bespoke deckled edge for your watercolor painting, so you can STEP INTO your metaphorical OR and get shizz done, friend.
FIRST THINGS FIRST
When I taught kindergarten, I’d categorize folding by hamburger (horizontal) or hotdog (vertical) style, but you don’t have to think of it that way — just fold it the size you want your painting to be. Start with one side and complete the steps in order for each side.
1️⃣ Okay, so first things first, you want to fold your watercolor paper so you have a very solid crease. Fold it back and forth creasing it sharply with something hard — could be your fingers, but if you’ve already painted on it, be sure you use something that isn’t your fingers (like a book or a ruler) to crease the edge so you avoid getting the oils from your hands all over the paper. It can inevitably break down some of the watercolor paint and/or change colors of your work.
THE NEXT STEP
2️⃣ Once you have a good solid crease, put your paper like a tent — ⛺️— and place your finger in the crease on the underside (like it’s basically inside the tent).
Gently pull your finger up, making sure the paper stays down on the far sides from the crease.
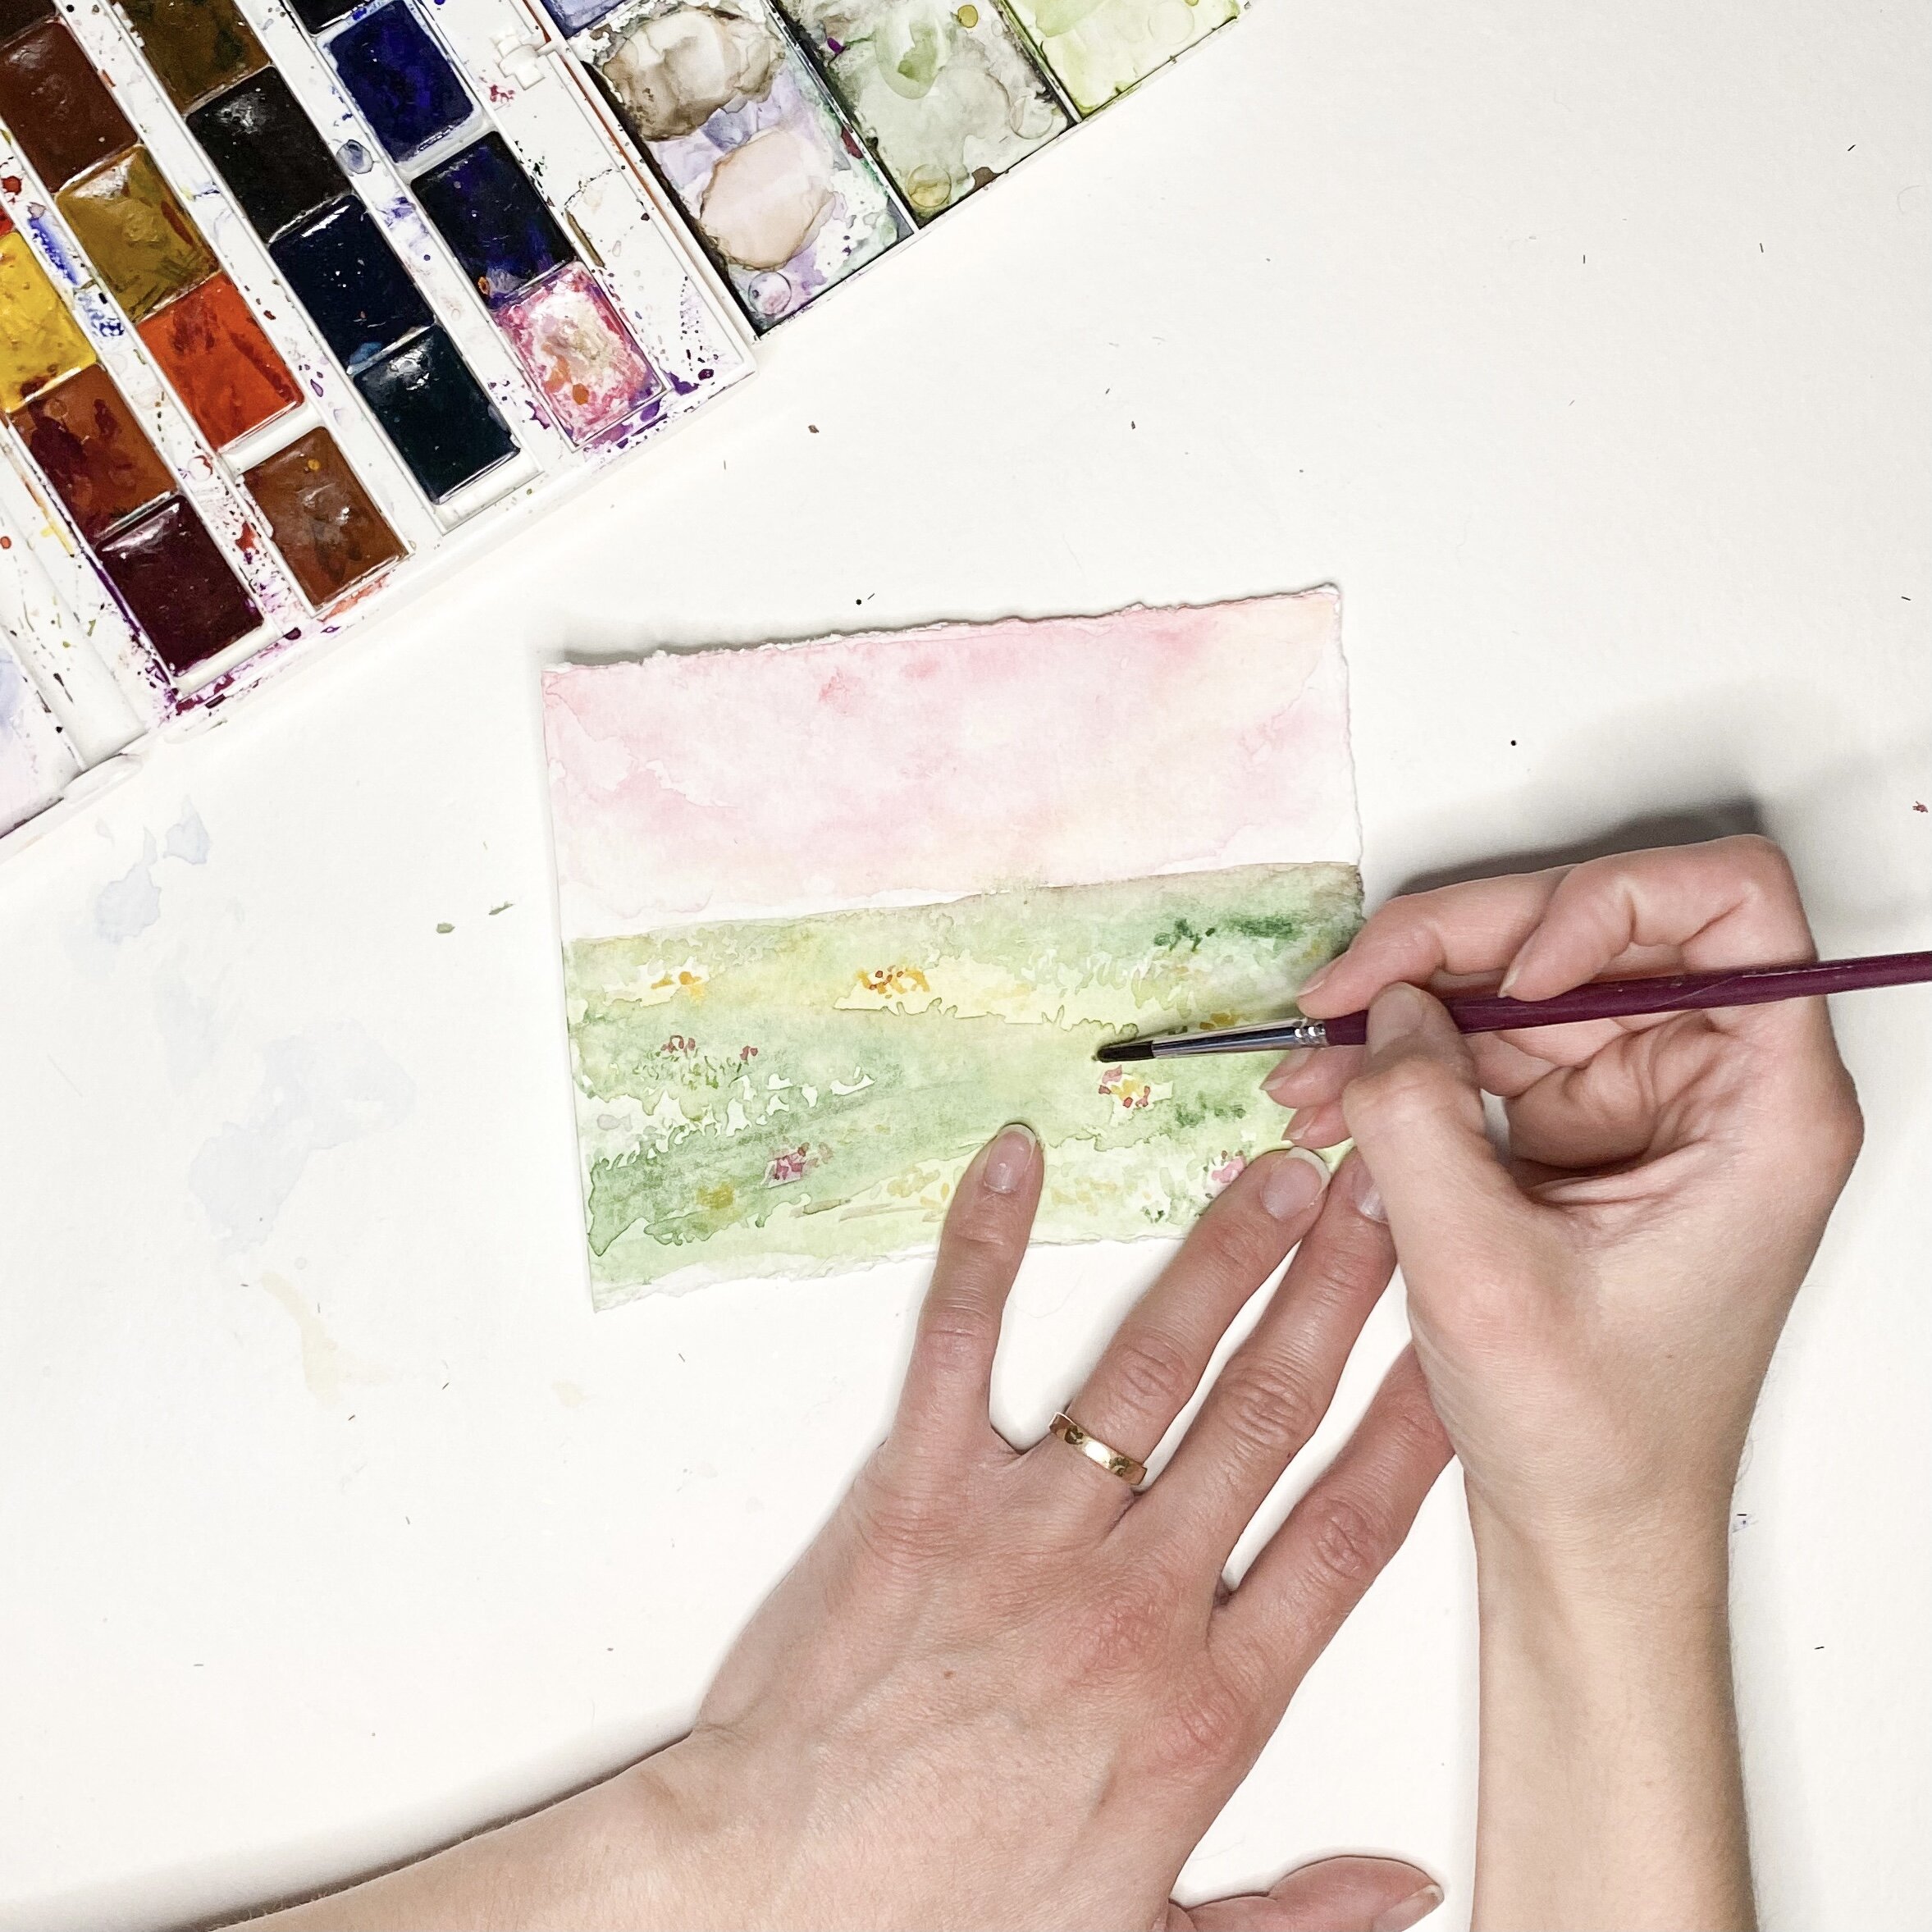
If your fold is creased enough, you should be able to gently continue pushing your finger along the inside of the crease until you get to the end and your paper is completely torn.
*there’s another way to use a ruler, but I have bad luck with it so I’m not even going to share it here. Google “deckled edge with a ruler” if you’re curious”
FINALLY
3️⃣ Complete the steps for all 4 sides.
This tends to work best when each side has *plenty* of room around it.
Here’s the thing…
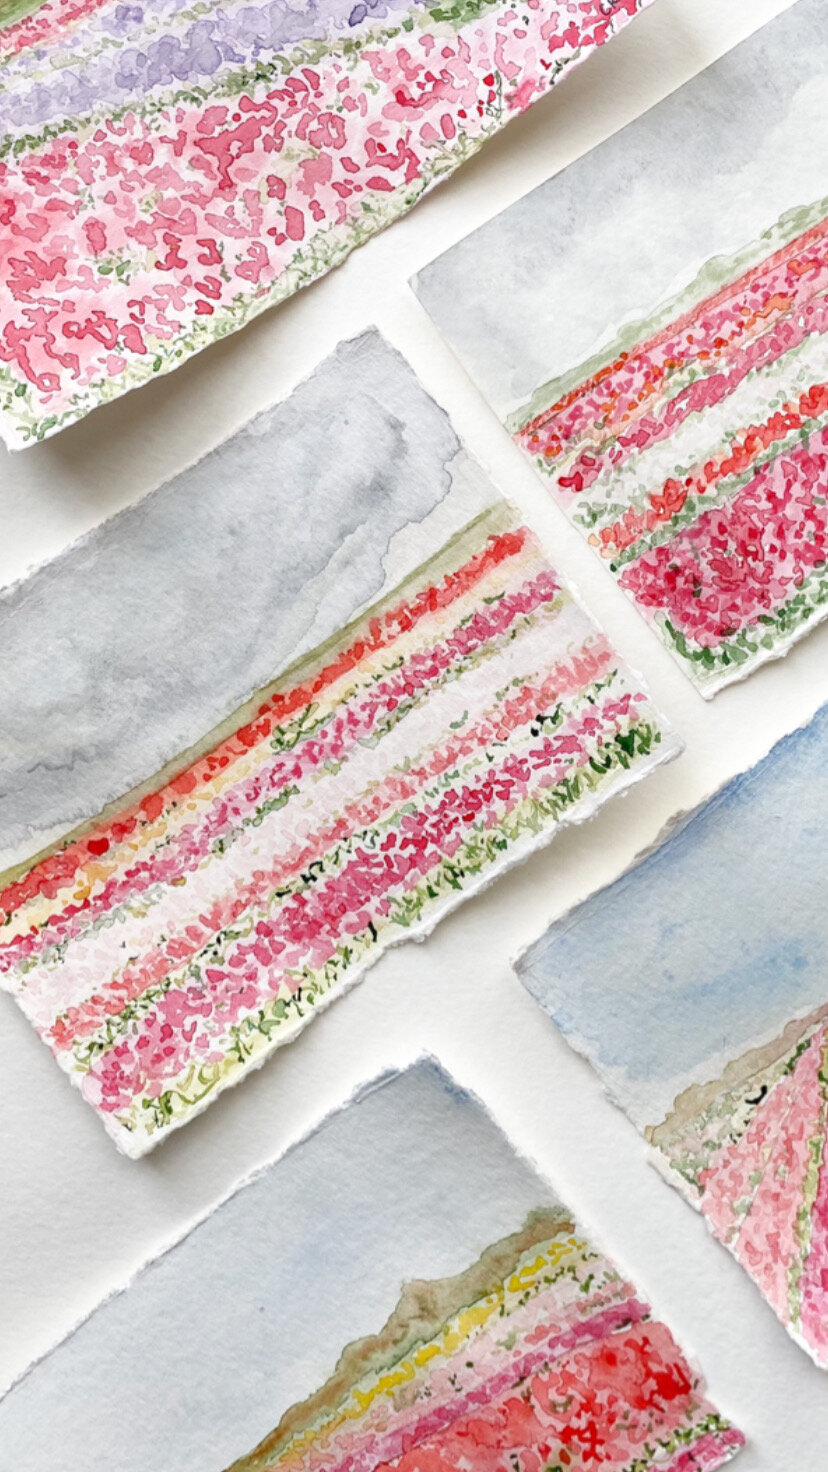
I’m a firm believer that it doesn’t have to be perfect to be beautiful — and part of the beauty of a deckled edge is that it’s bespoke — it’s done by hand and totally unique. No two deckled edges will look the same. So? Don’t worry if it’s not perfect. The point is you’re elevating your watercolor work, and that’s a beautiful thing.
If you’d like to learn more about watercolor painting, grab your ULTIMATE GUIDE TO WATERCOLOR SUPPLIES fo’ FREE by clicking the button below!





Oct 12, 2021
Learn
Oct 12, 2021
Learn
Oct 12, 2021
Learn